M-Store- Multi-Store Inventory Management System with Full Accounts & Installment Sale
M-Store is a Modern and responsvie big Business management system. It is developed by PHP and Codeginiter framework. It is design and develop for thinking shop, big and small business, company and any types of business.Here has accounting, management, invoice,user and data analysis. Multi store System,Installment system payment and Purchase order.
Demo of M-Store
> Mysql Version : 5.0.12 > PHP version: 7.0.5 > Apache : 2.4.18
M-Store Installation Guide:
- Please Extract the M-Store.zip folder. Then you will get M-Store.zip and Documentation Folder, First read the documention.
- Now just Upload the M-Store.zip file to your server using cPanel or FTP.
- Extract the M-Store.zip file
- Now you just access into the your uploaded folder and then move all folders and files (EX: application, assets,index.php,install and system folders) one step up to public_html directory or can create comment folder and then you can keep it at the folder . Note: Keep in mind about .htaccess file is moved correctly otherwise you cannot access into the admin panel. #####################
- Note that: the instruction will be applicable for all other system. #####################
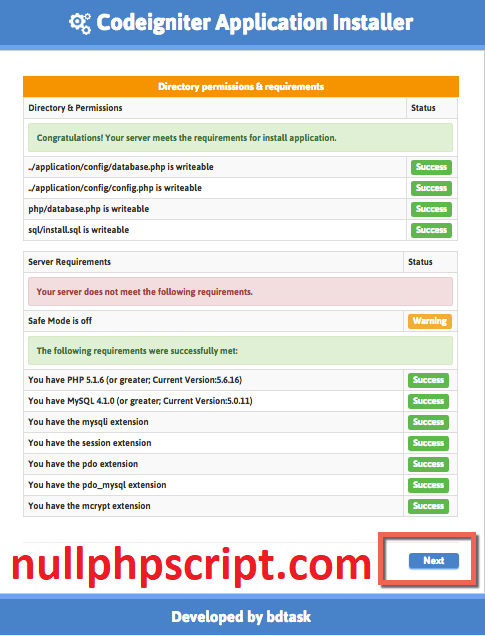
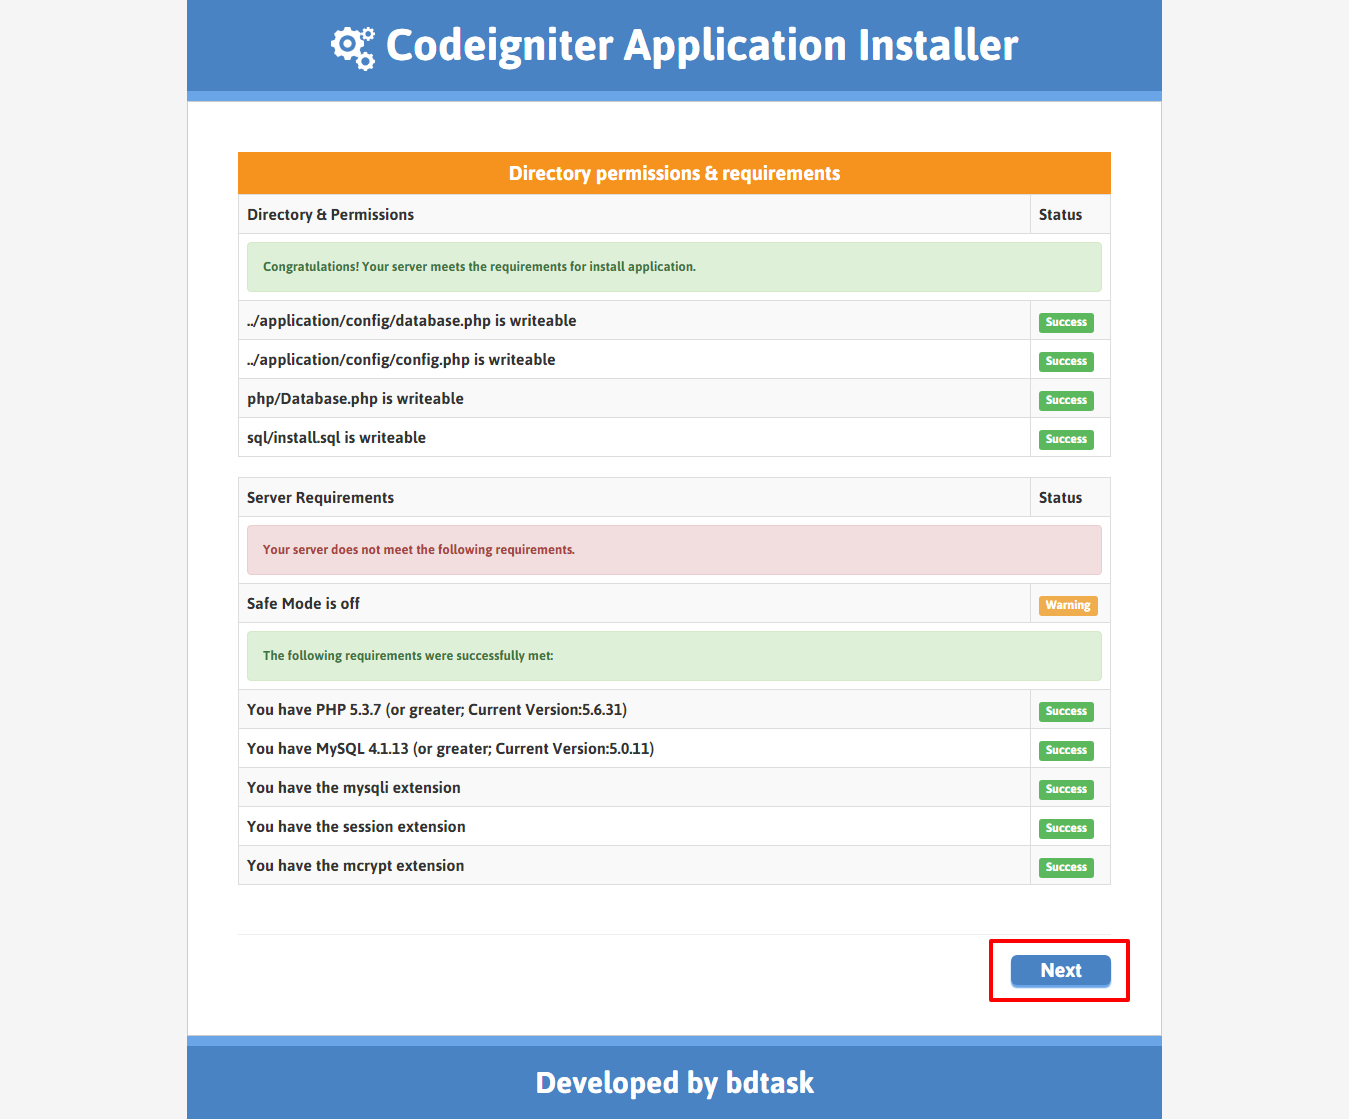
- Now, Browse your application http://yourdomain.com/install Installer first step showing the directory and server requirements. If all requirements successfully meet then click on Next button
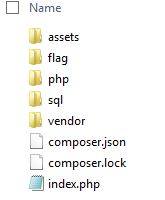
- Folder structure of Installer
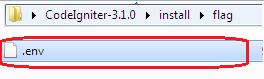
- Delete the .env file if exists in install/flag/ directory . We added default empty flag...please you check everytime before installing.
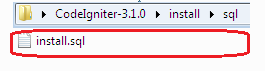
- Put your application database into sql directory and rename it as install.sql . we already added here default database.
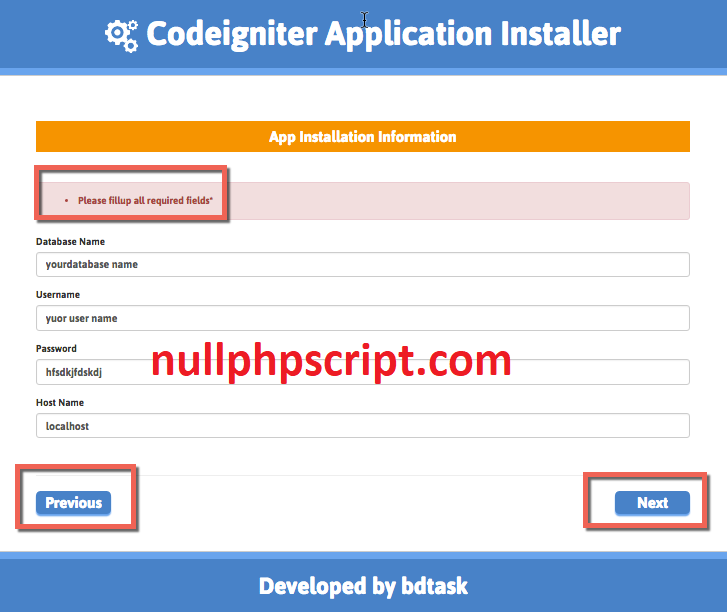
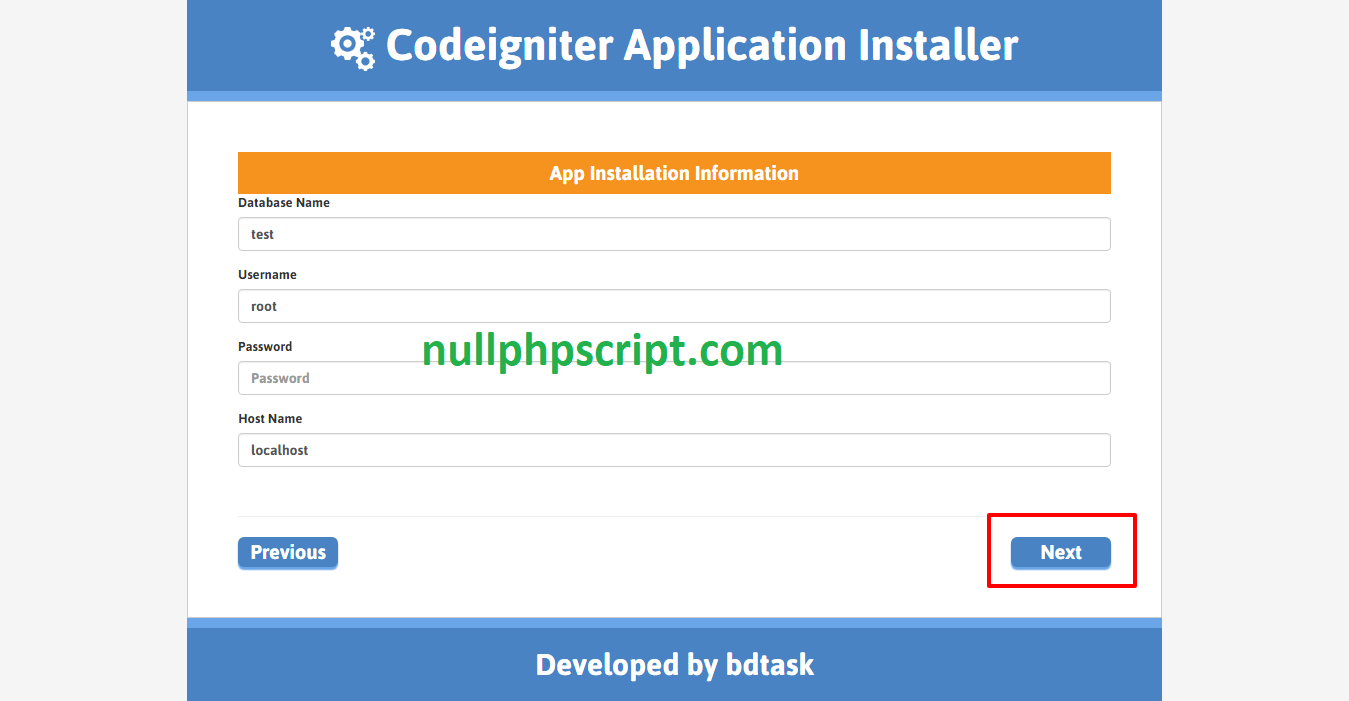
- *Enter your database name, username, password, host name and click on Next button
- Just wait 10 seconds to complete the installation process
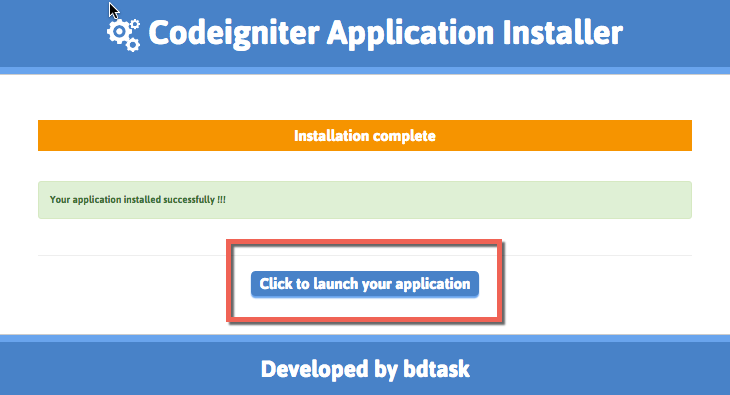
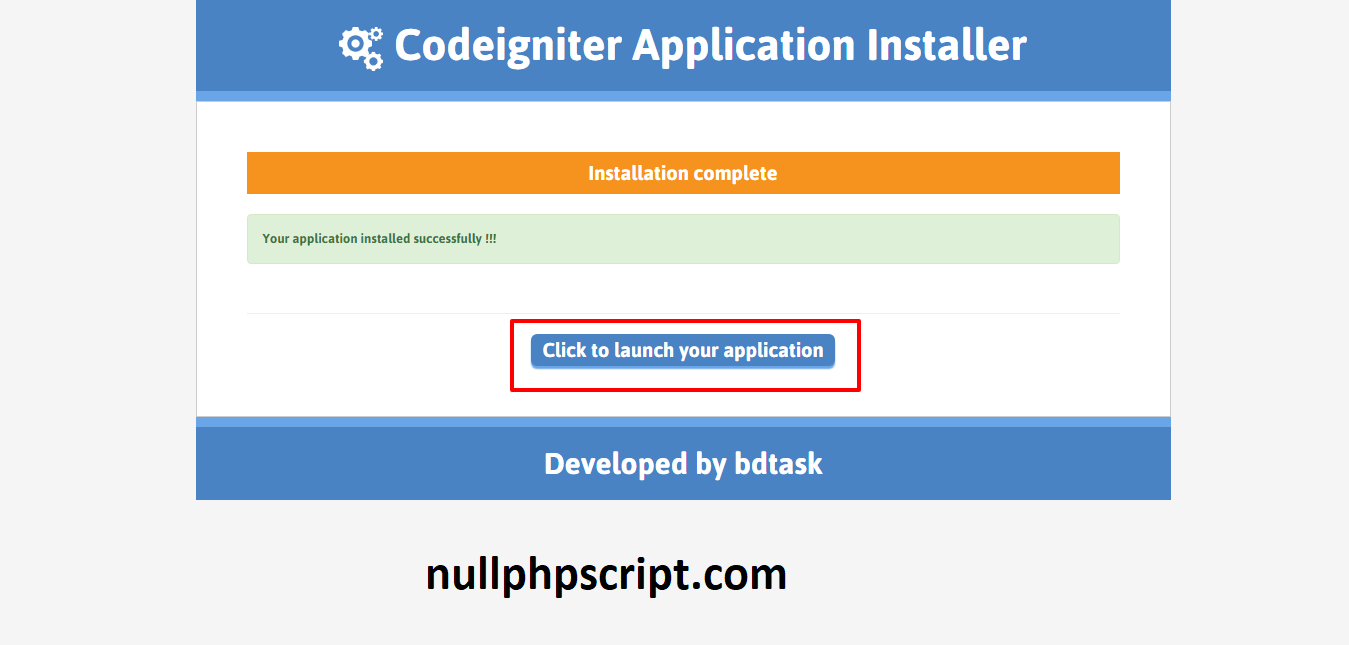
- Installation successfully done…
- Now, Click on Click to launch your application button to access your application
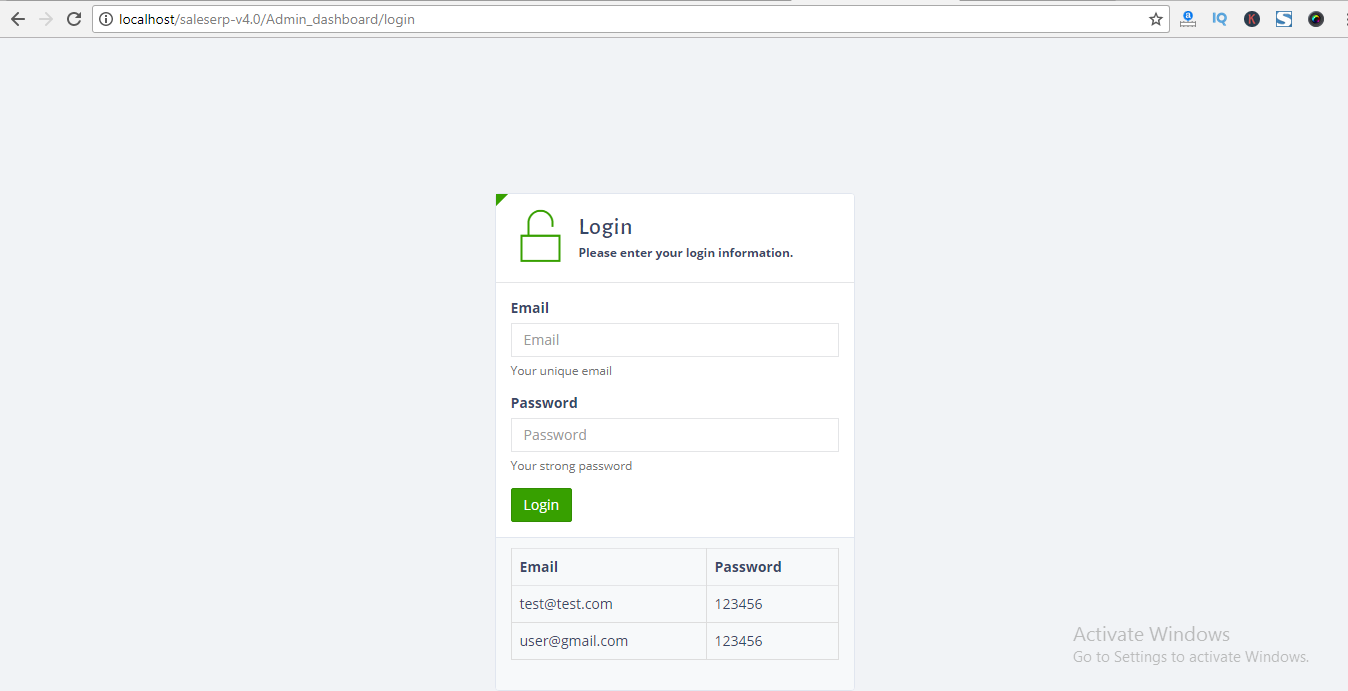
- Please go to your domain name http://yourdomain.com/login
- User name: admin@example.com | Password: 12345 . After login please change your user name and password.
- Thank you for purchasing the M-Store System, If you have any questions, please contact us at info@bdtask.com
Here is your Login info :
User Guide:
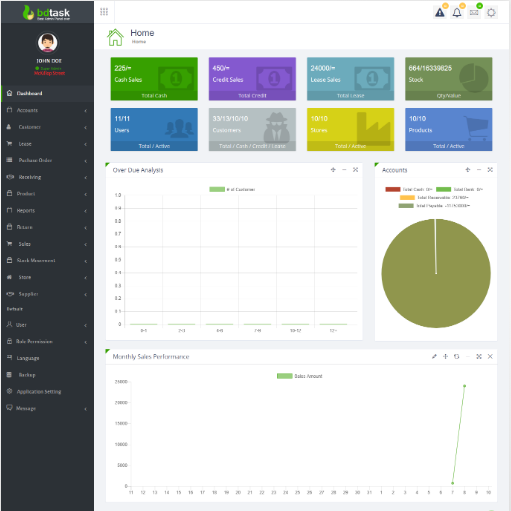
- This is Home page overview, Your Today's all Sales and Purchase Report will be shown here. You also can see Product wise Sales report in everyday.
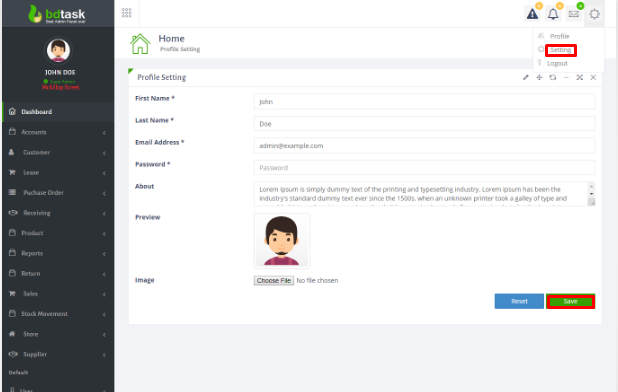
- To change profile setting just follow Settings icon right side of dashboard and click setting.
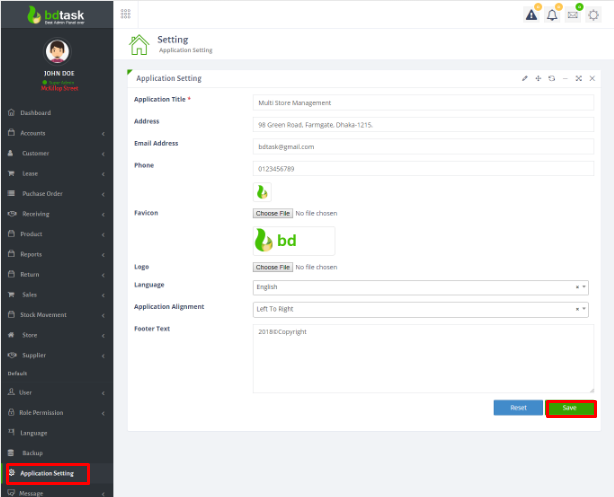
- Here is Application Settings.procedure is:Application title>address>Email address>phone>Favicon>Upload logo>select language>select application allignment,then click save button
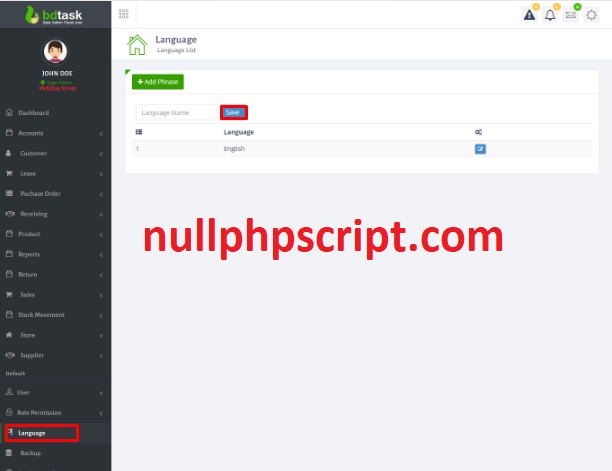
- Language setting is the important part of this software.you can add your native language in this system just go to Language Settings > Language then add your native language name and then click save button.
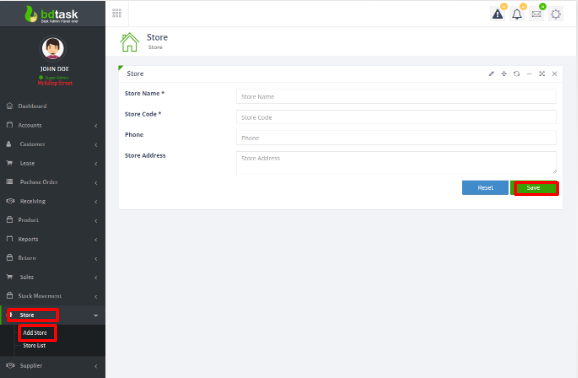
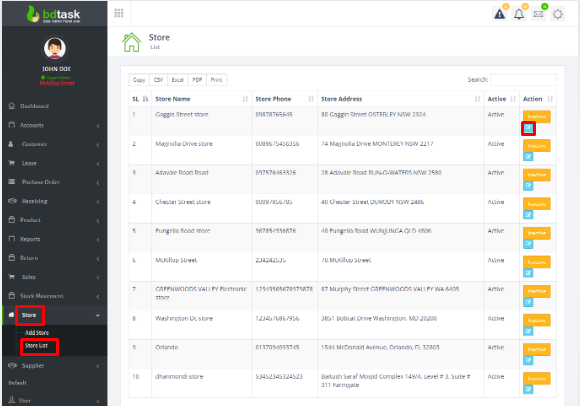
- First You have to add store at your system then all other will come automatically. So, To add Supplier just go to > store > Add Store and fill the form and save.
- Here is the store list.
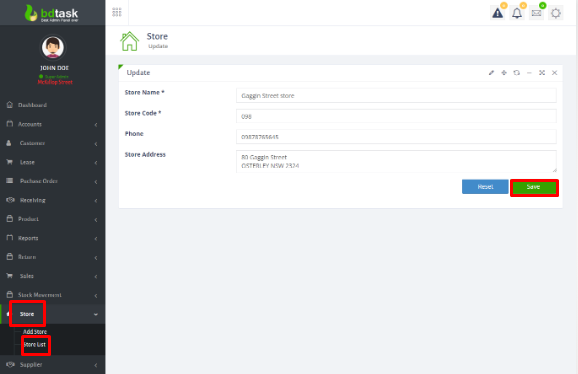
- Here you can edit store..
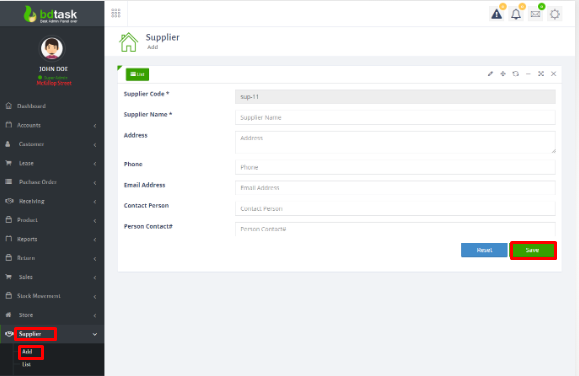
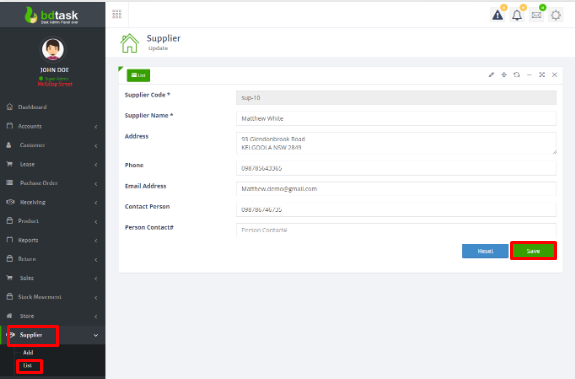
- After adding store, just go to the Supplier, then you can add the supplier.For adding go to supplier>add >then fill up the form and click the save button .
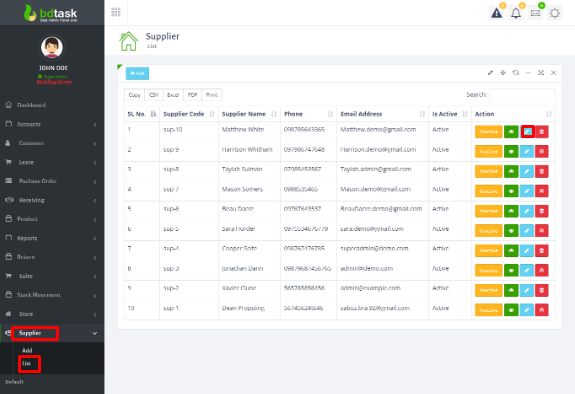
- Here is the supplier list.Here you can edit and delete supplier.
- You can edit here.After editing just click on the save button.
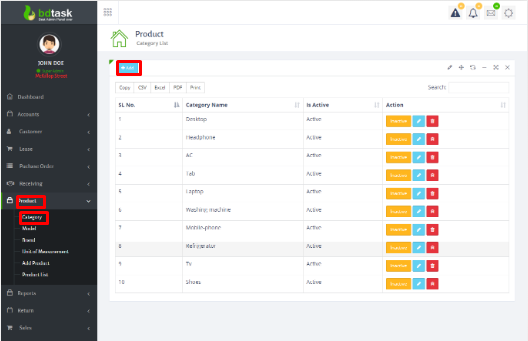
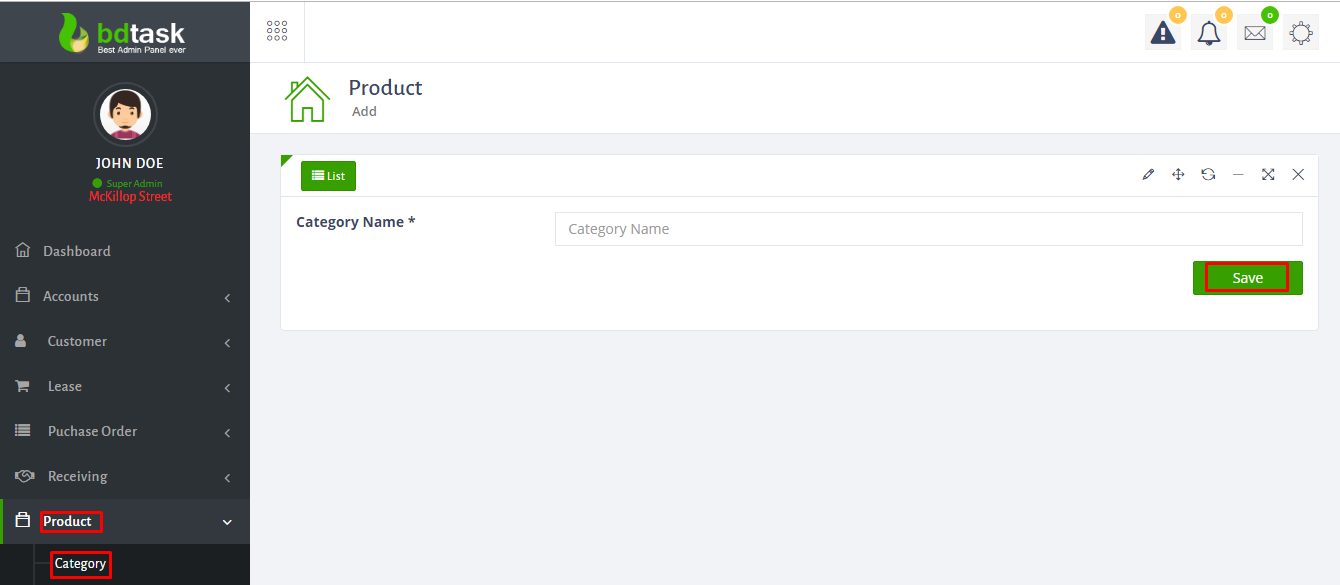
- Here is the category list.Here you can delete and edit category.For adding category, just click on the add button.
- After adding category name,just click on the save button.
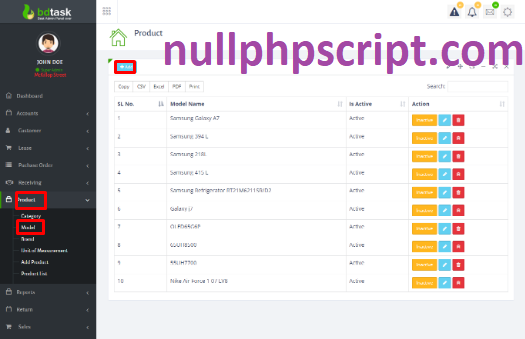
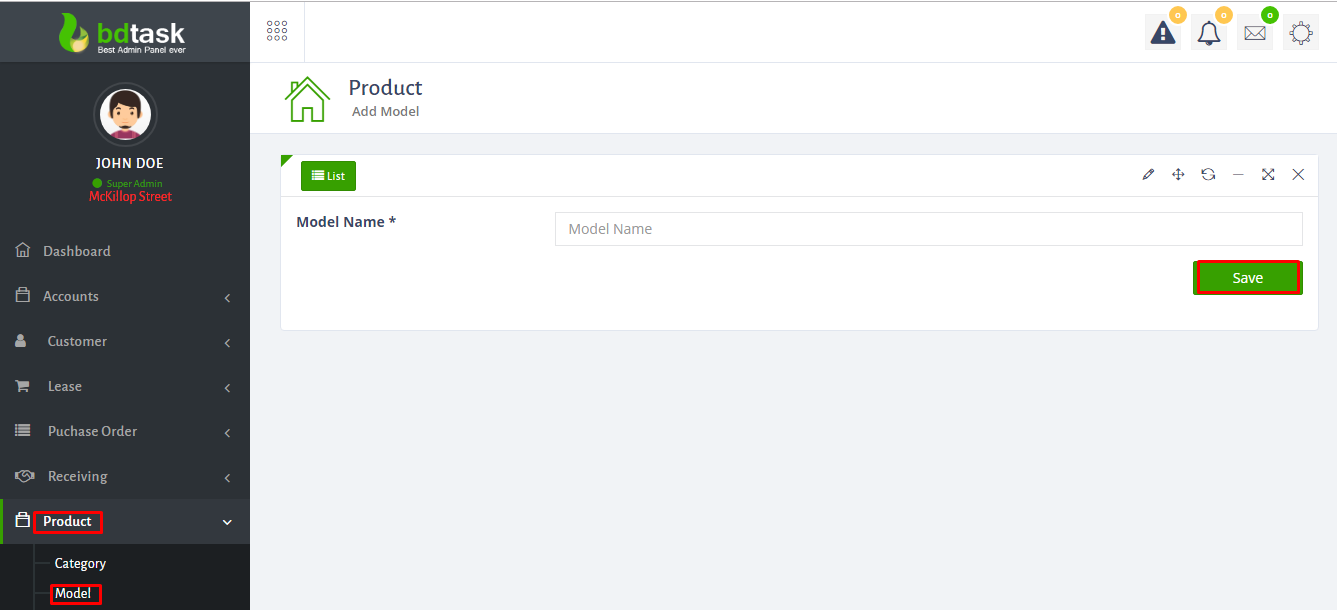
- Here is the model list.Here you can delete and edit model.For adding model, just click on the add button.
- After adding model name,just click on the save button.
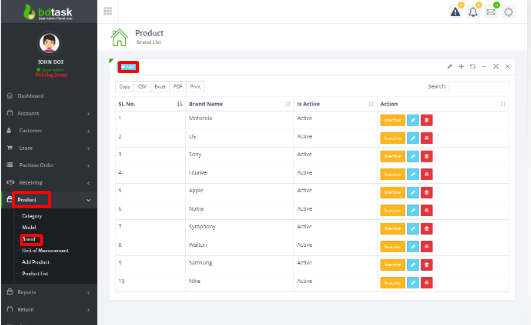
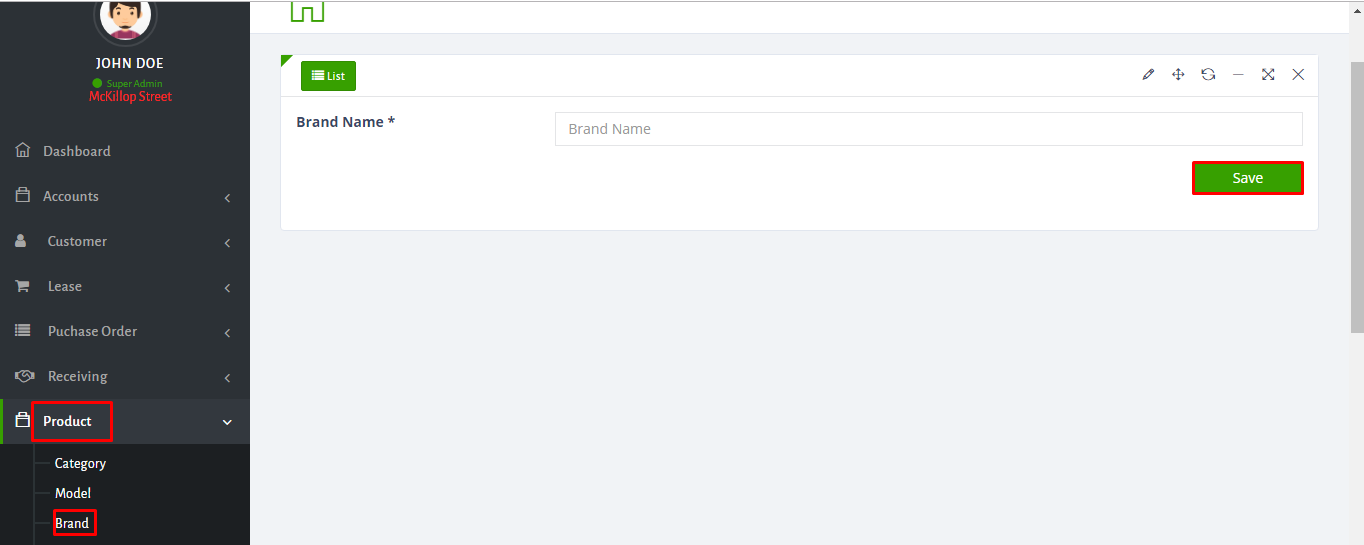
- Here is the brand list.Here you can delete and edit brand.For adding brand, just click on the add button.
- After adding brand name,just click on the save button.
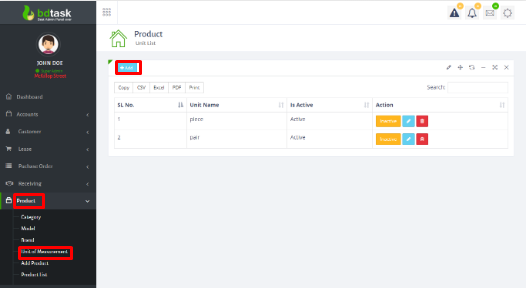
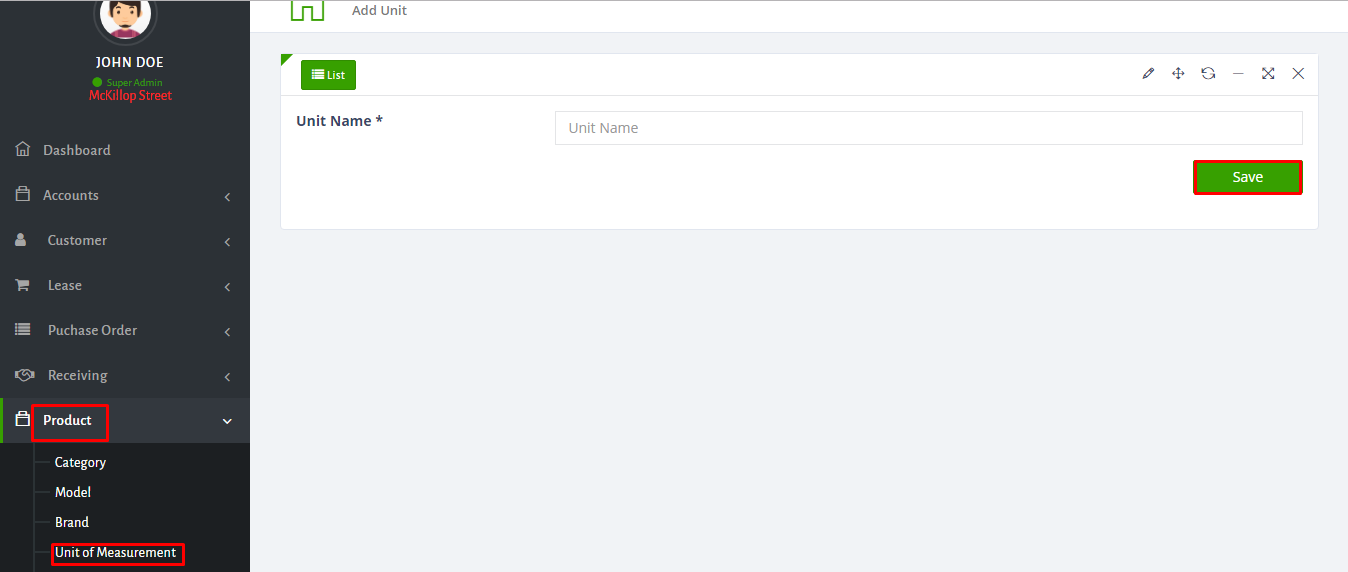
- Here is the unit list.Here you can delete and edit unit.For adding unit, just click on the add button.
- After adding unit name,just click on the save button.
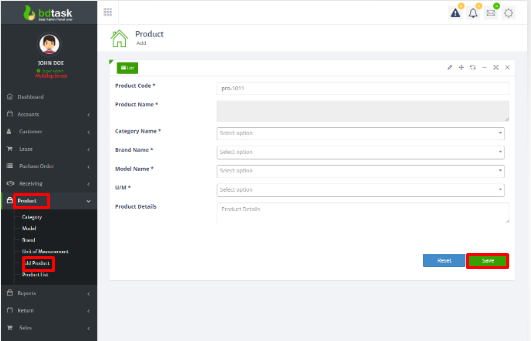
- Now,you have to add product.For adding first you have to fill up the form ,then click save button.
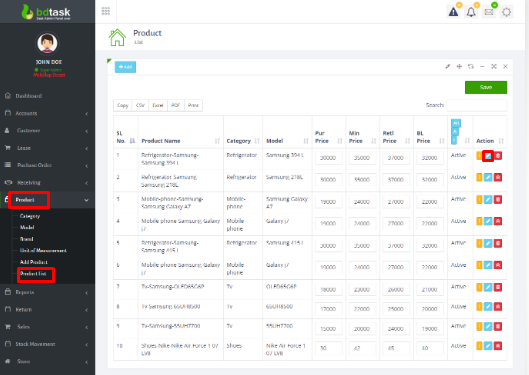
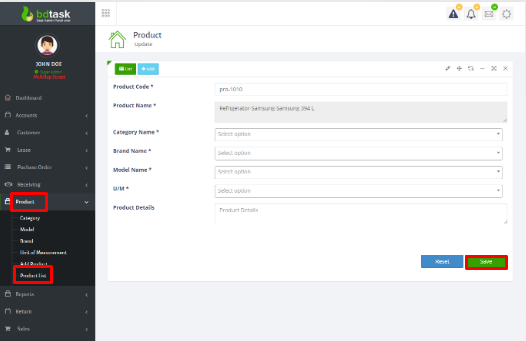
- Here is the product list.Here you can delete and edit product.For editing, just click on the mark button.
- Here you can edit.
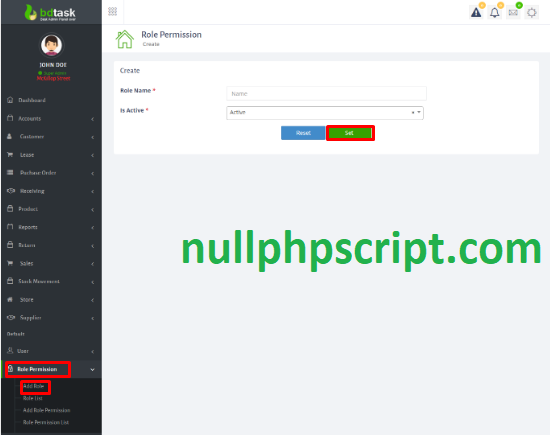
- For adding role go to Role Permission>Add role>then fill up the form >click on set button.
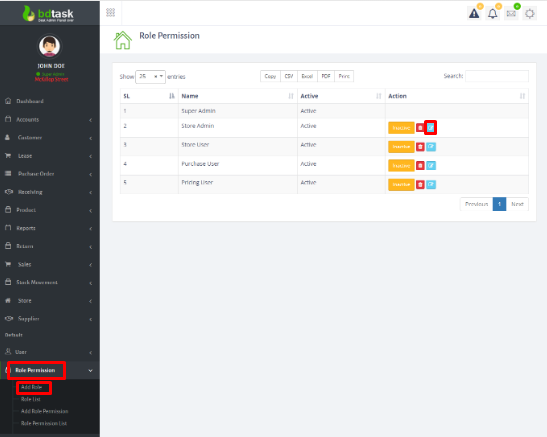
- Here is the role list.You can also edit and delete here .
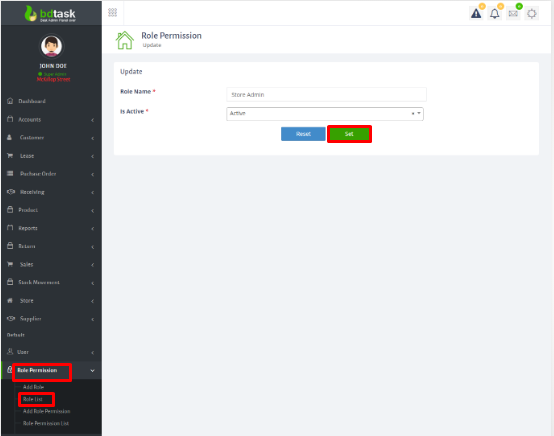
- For editing,fill up the form and click on set button.
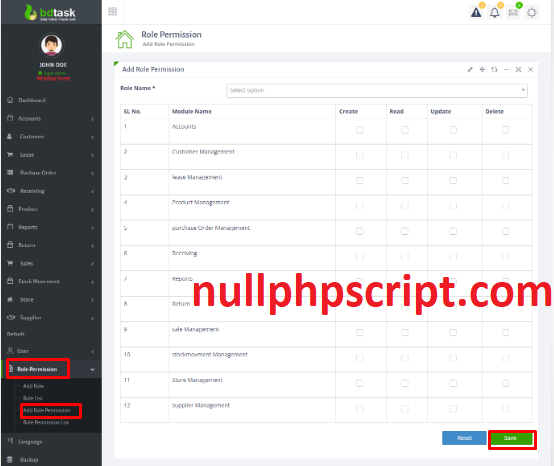
- For add role permission,go to role permission>add role permission>then fill up the form > click on save button.
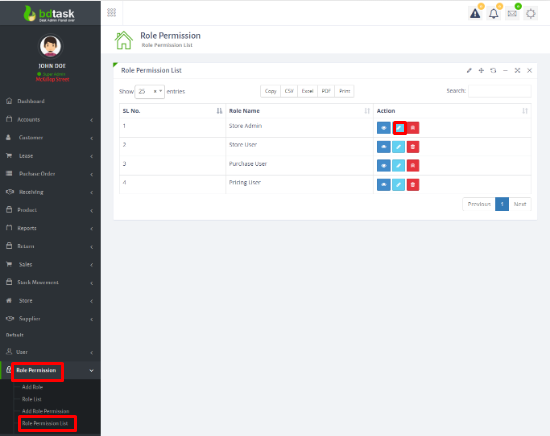
- Here is role permission list.Here you can delete and edit data.For editing click on the mark button.
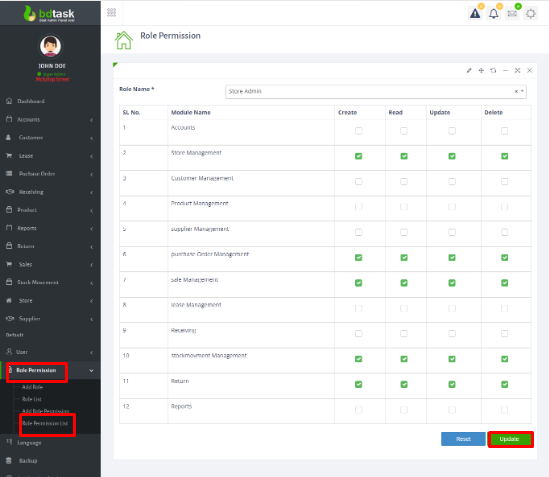
- Here you can edit.
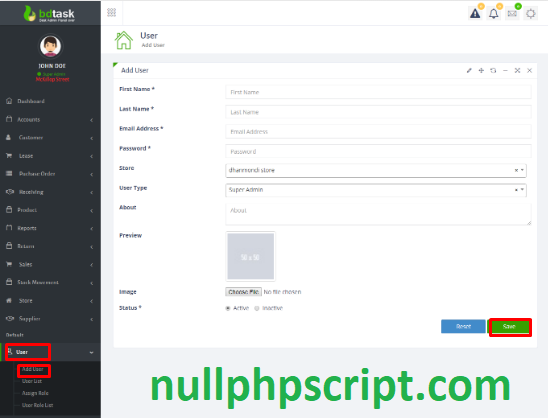
- For adding user,go to the user>Add user>fill up the form>click on the save botton.
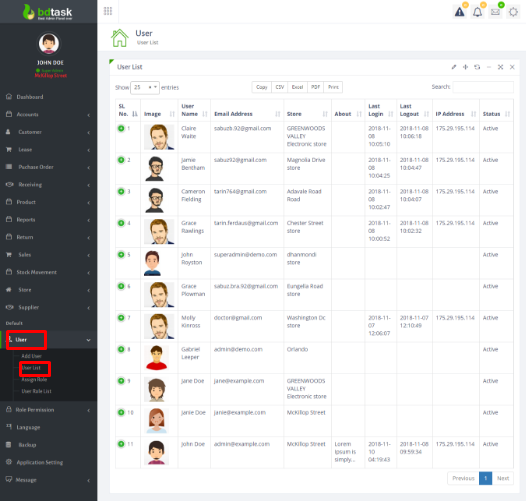
- Here you can see the user list.
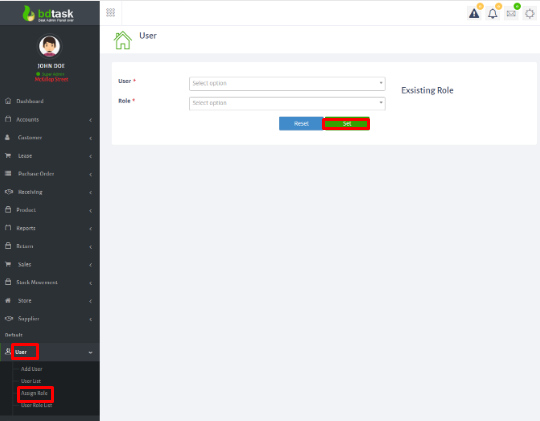
- For assigning the role first fill up the form and then click on set button.
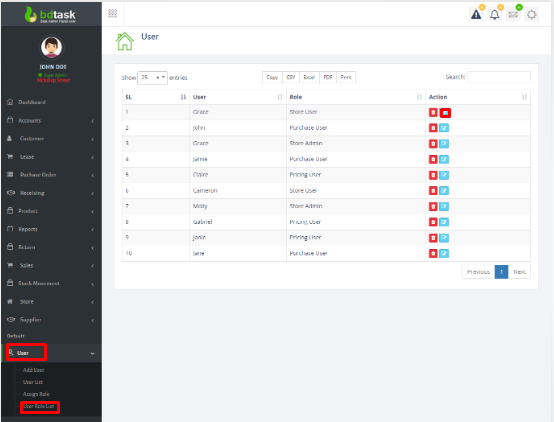
- Here is the user role list.You can also edit and delete here.For editing click on the mark button.
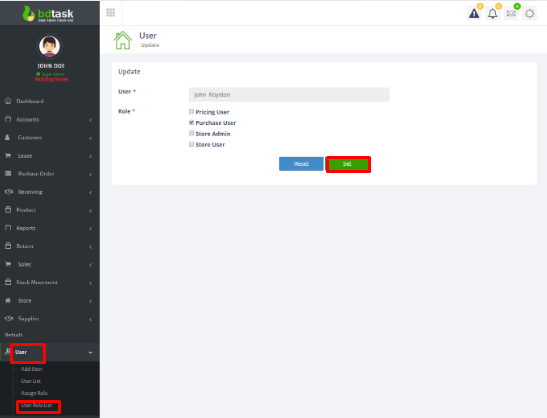
- After fill up the form click on the set button.
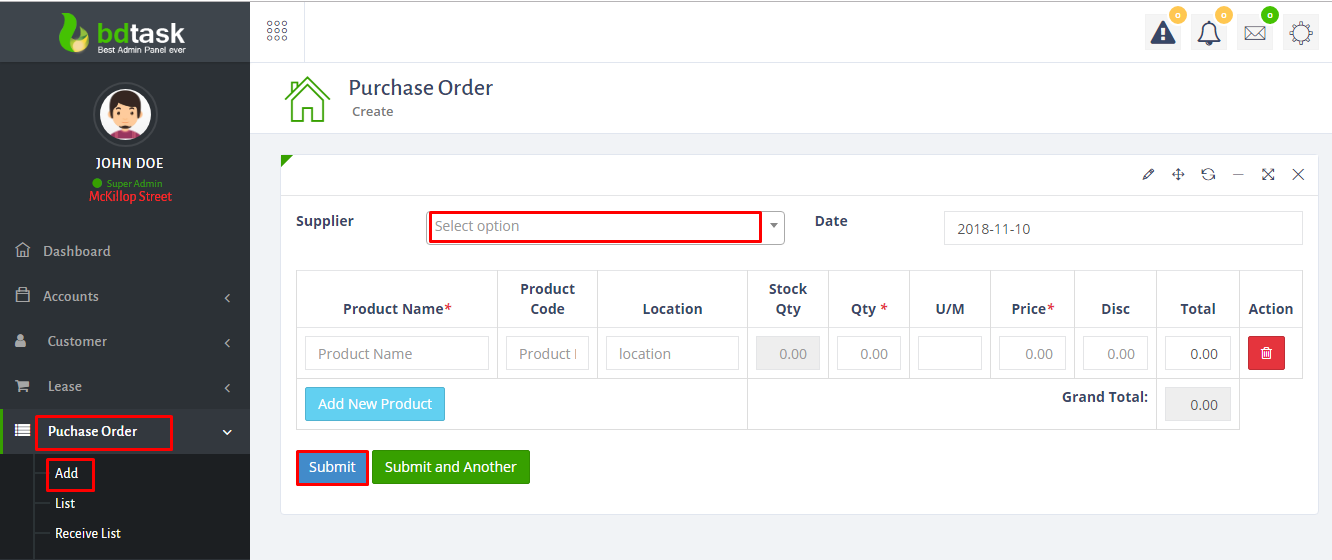
- For adding purchase order you have to go purchase order>add>then fill up the form>then submit.
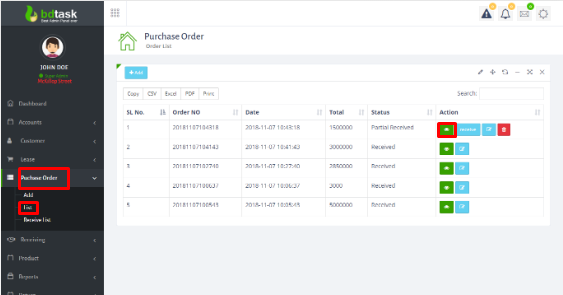
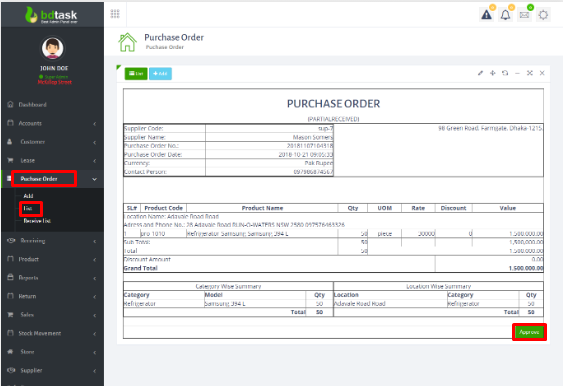
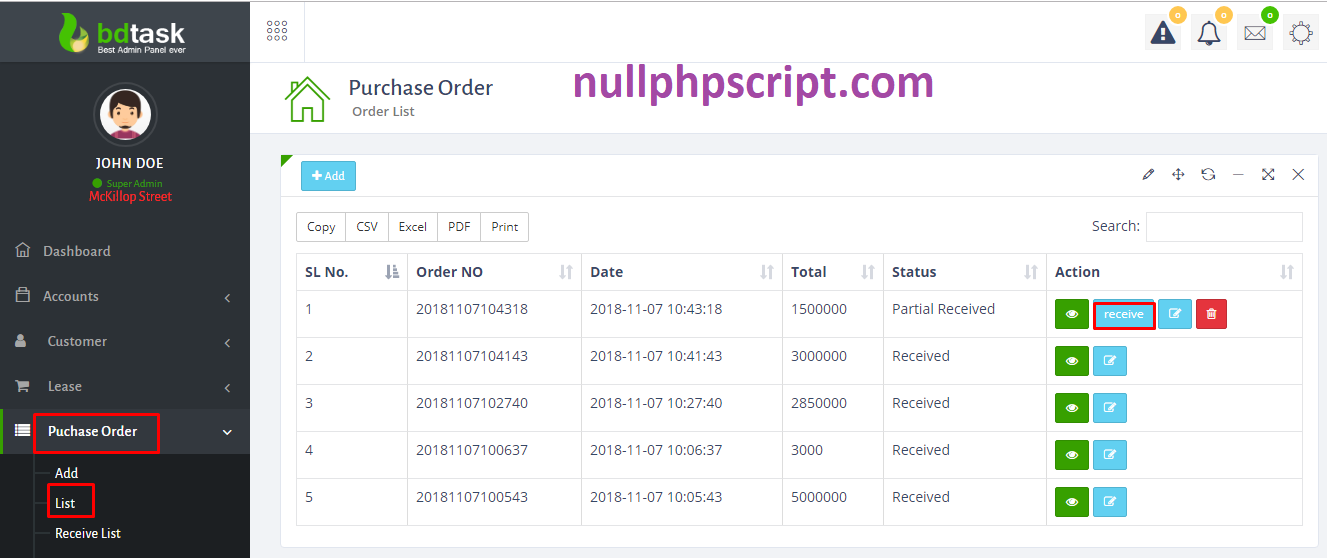
- Here is the purchase order list.You can also edit,receive and delete here.Fisrt you have to click view button.then you have to approve the button.Then click receive.
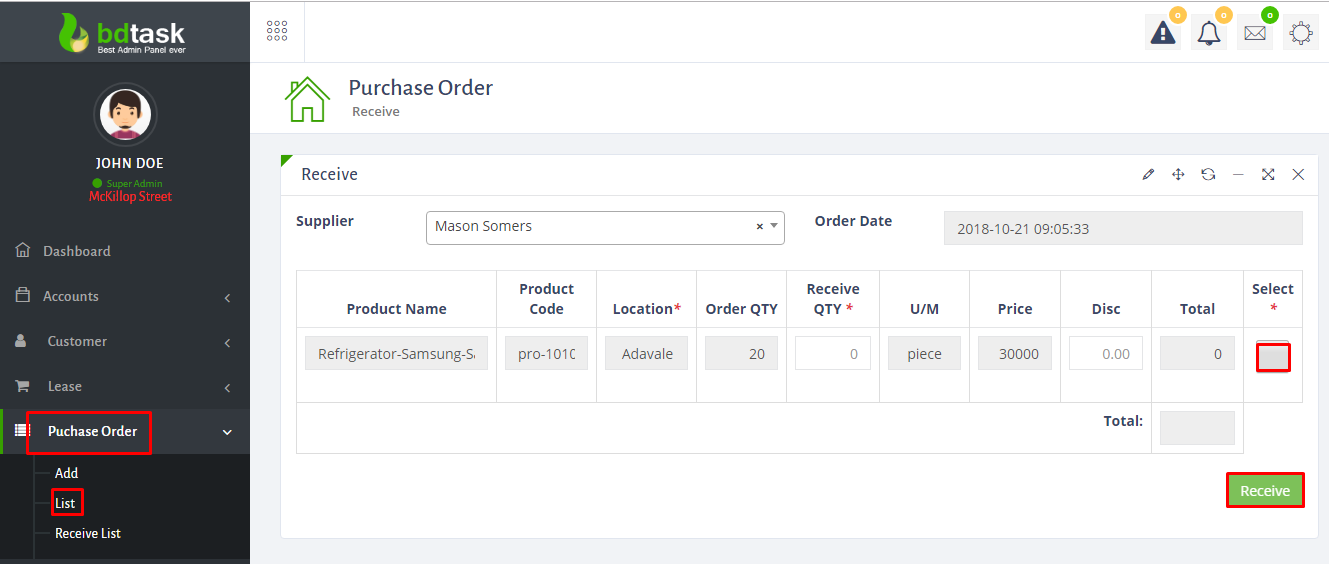
- Here you have to receive money.
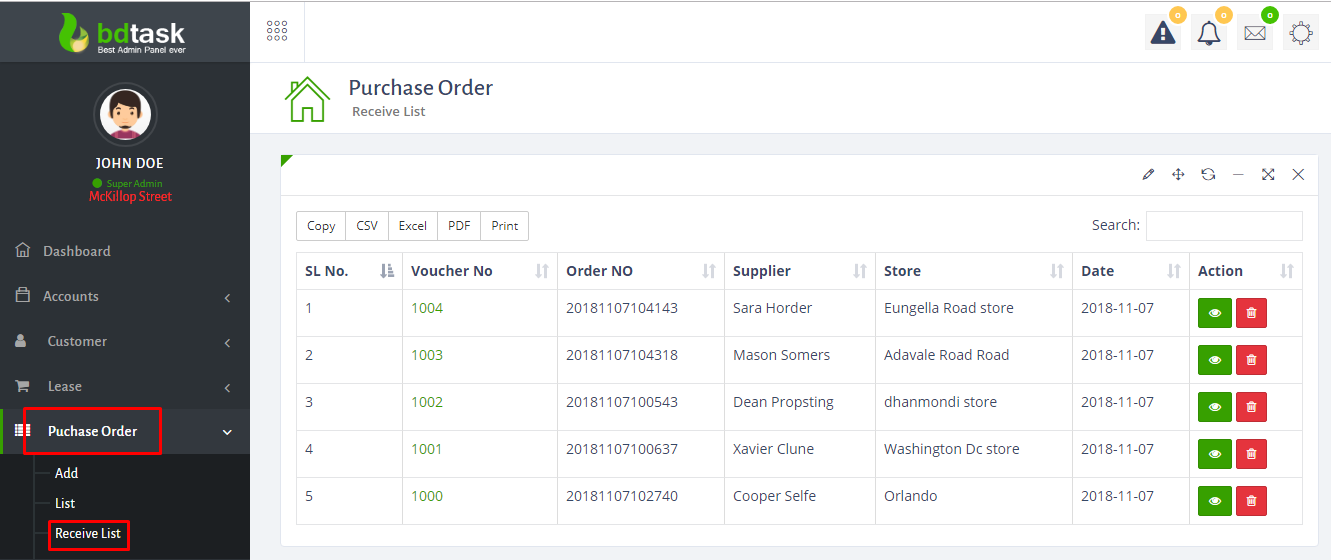
- Here is the receive list.Here you can also delete and see the view.
- Here is the receive list.Here you can also delete and see the view.
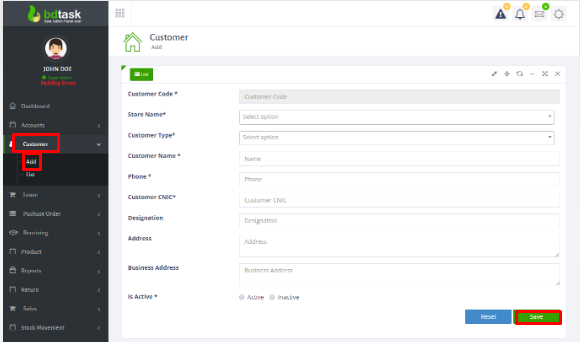
- Now you have to add customer.Procedure is:Customer>add>fill up the form>click on the save button.
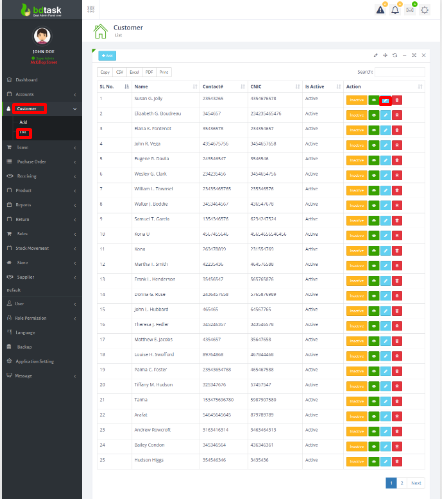
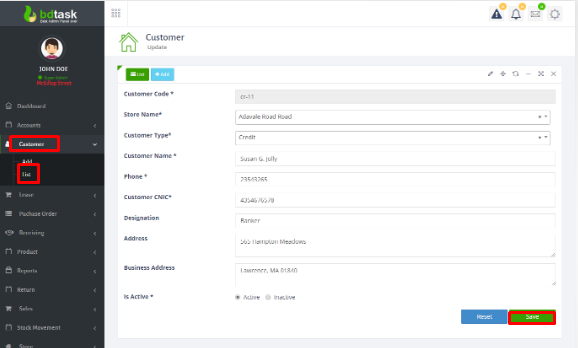
- Here is the customer list.Here you can also edit,delete and see the view.For editing click on the mark button.
- After fill up the form click on save button.
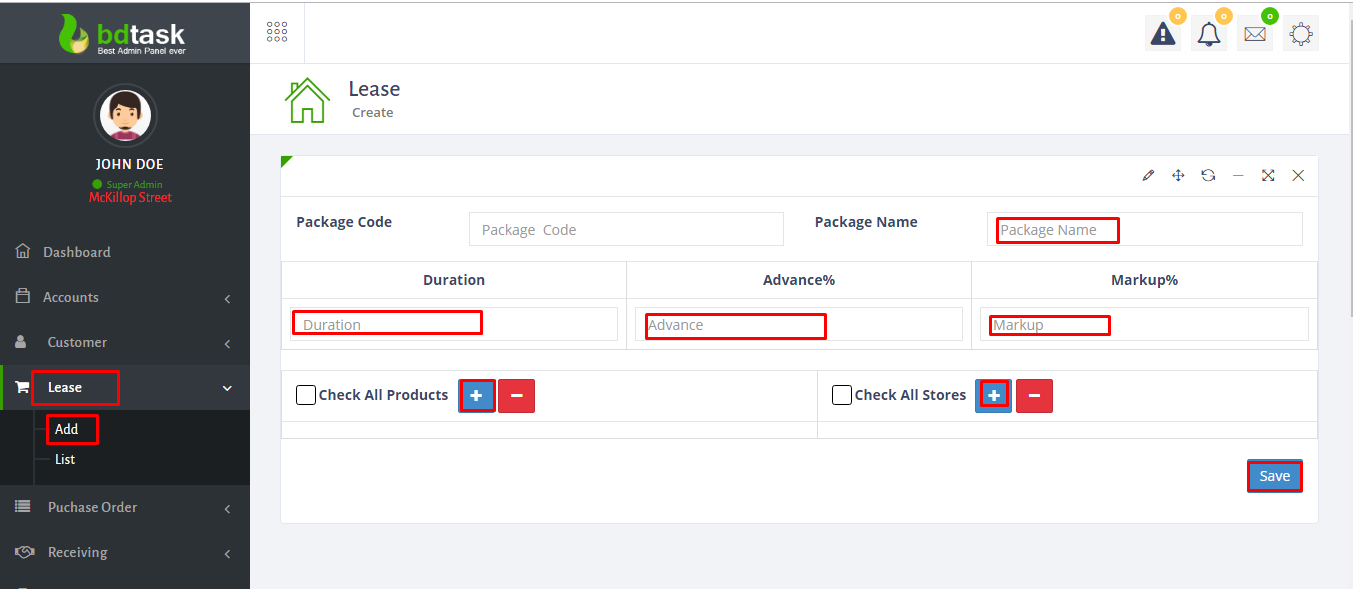
- For adding lease you have to go lease>add>fill up the form>click on save button.
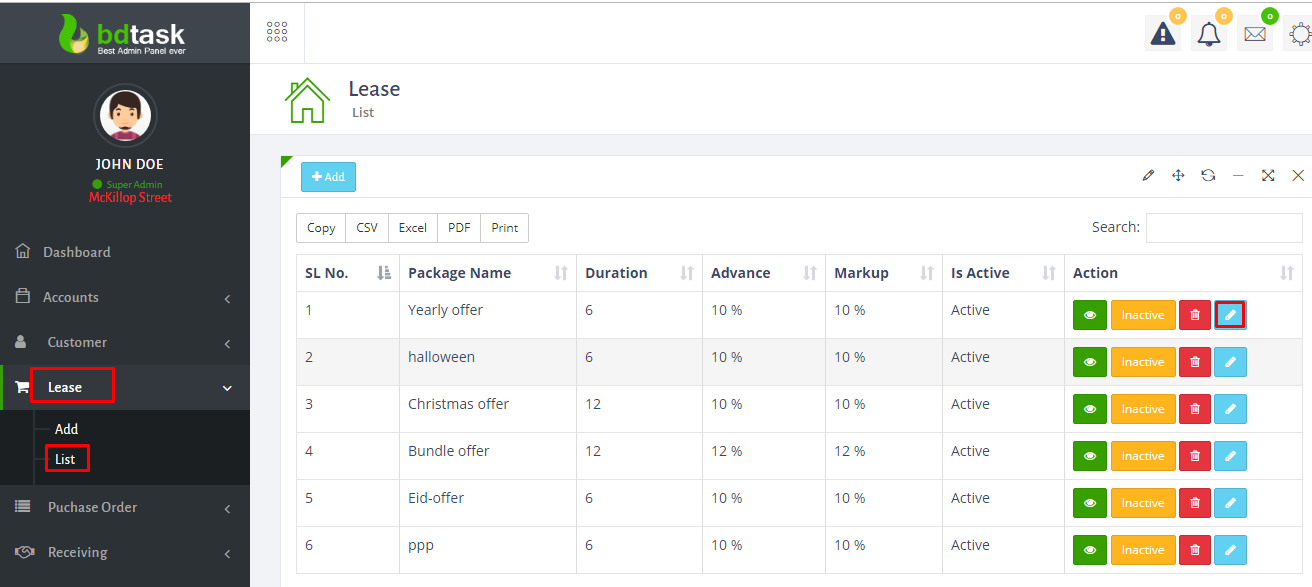
- Here you can see the lease list.Also you can see the view,edit and delete.For editing click on the mark button.
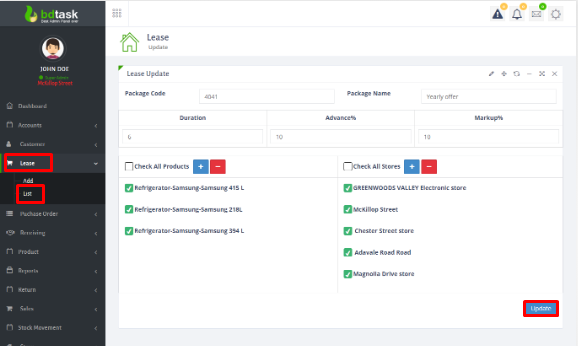
- Here you can edit.
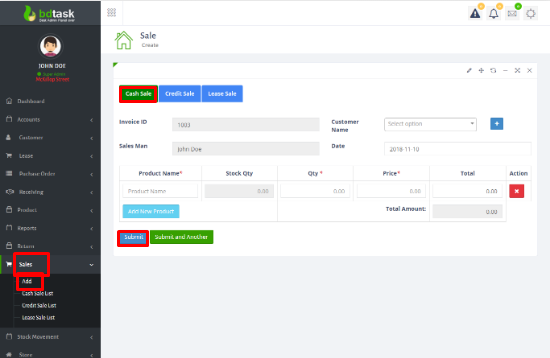
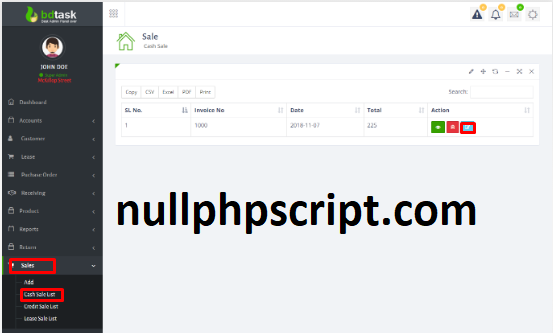
- For adding cash sale go to sale>add>click on cash sale>then fill up the form>then click on submit.
- Here you can see cash sale list.Also you can edit,see the view and delete.
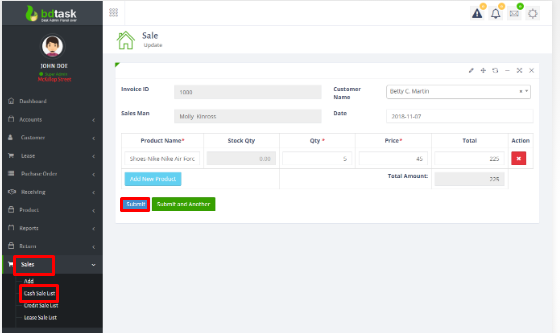
- You can edit cash sale here.
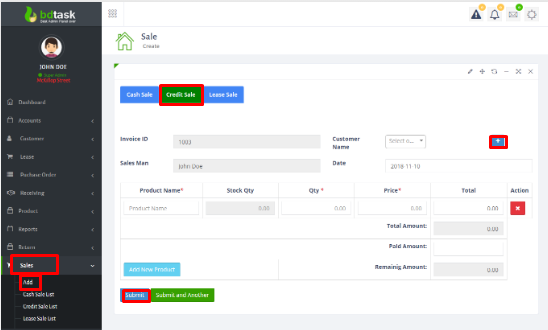
- For adding credit sale go to sale>add>click on credit sale>then fill up the form>then click on submit.
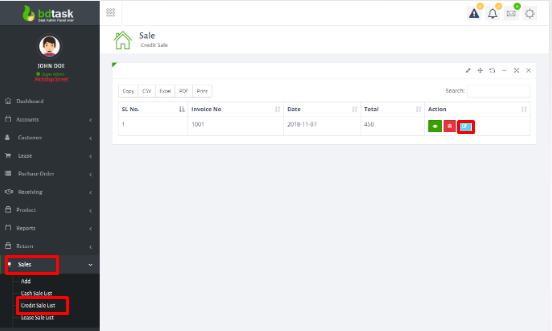
- Here you can see credit sale list.Also you can edit,see the view and delete.
- You can edit credit sale here.
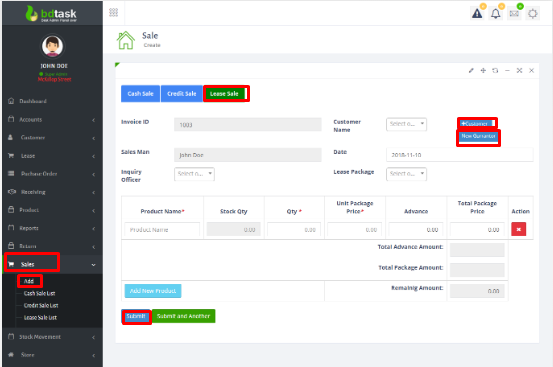
- For adding lease sale go to sale>add>click on lease sale>then fill up the form>then click on submit.
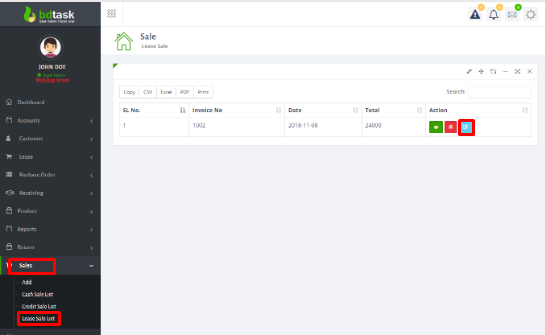
- Here you can see lease sale list.Also you can edit,see the view and delete.
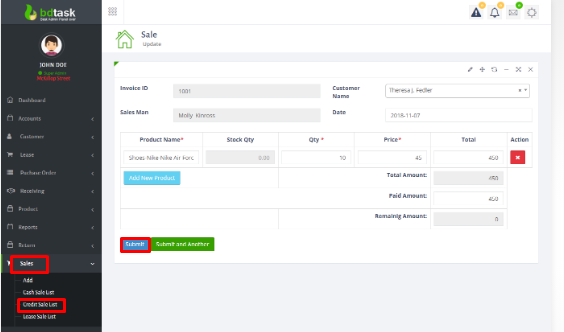
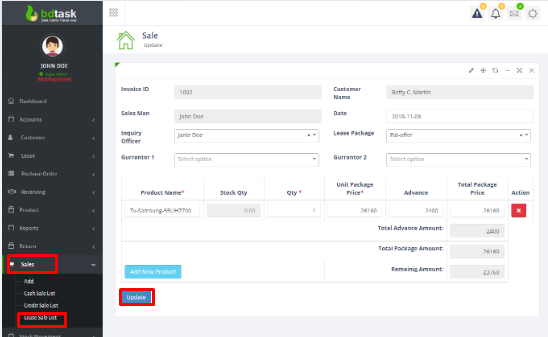
- You can edit lease sale here.
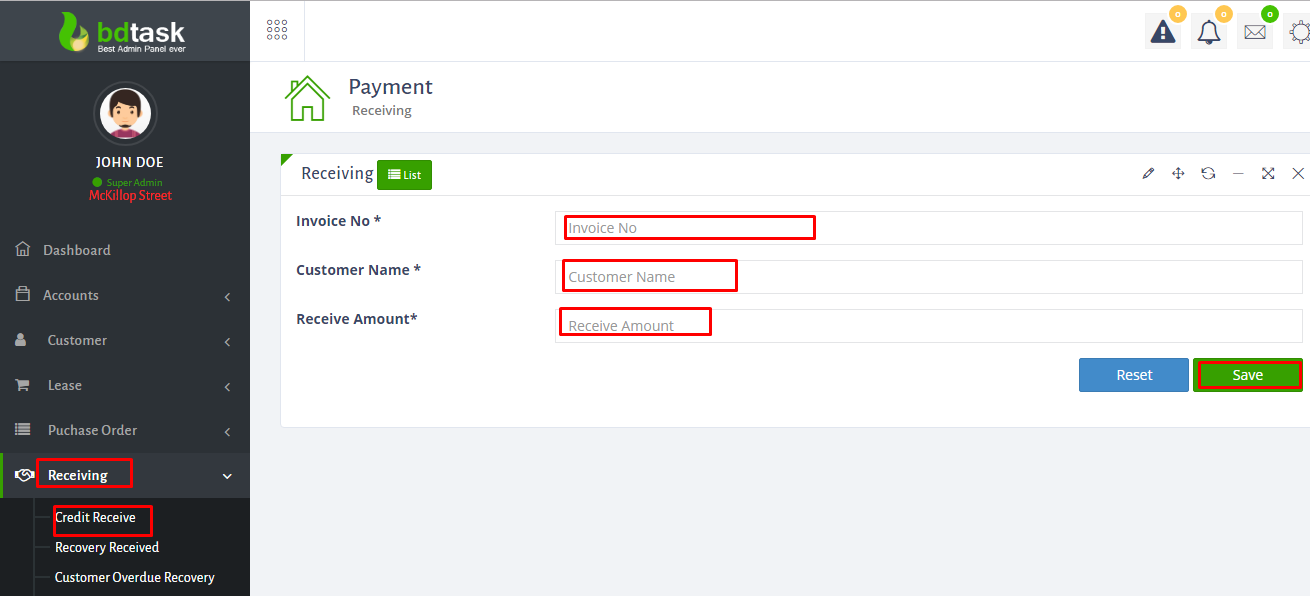
- For credit receiving go to receiving>credit receive>fill up the form>click on save button.
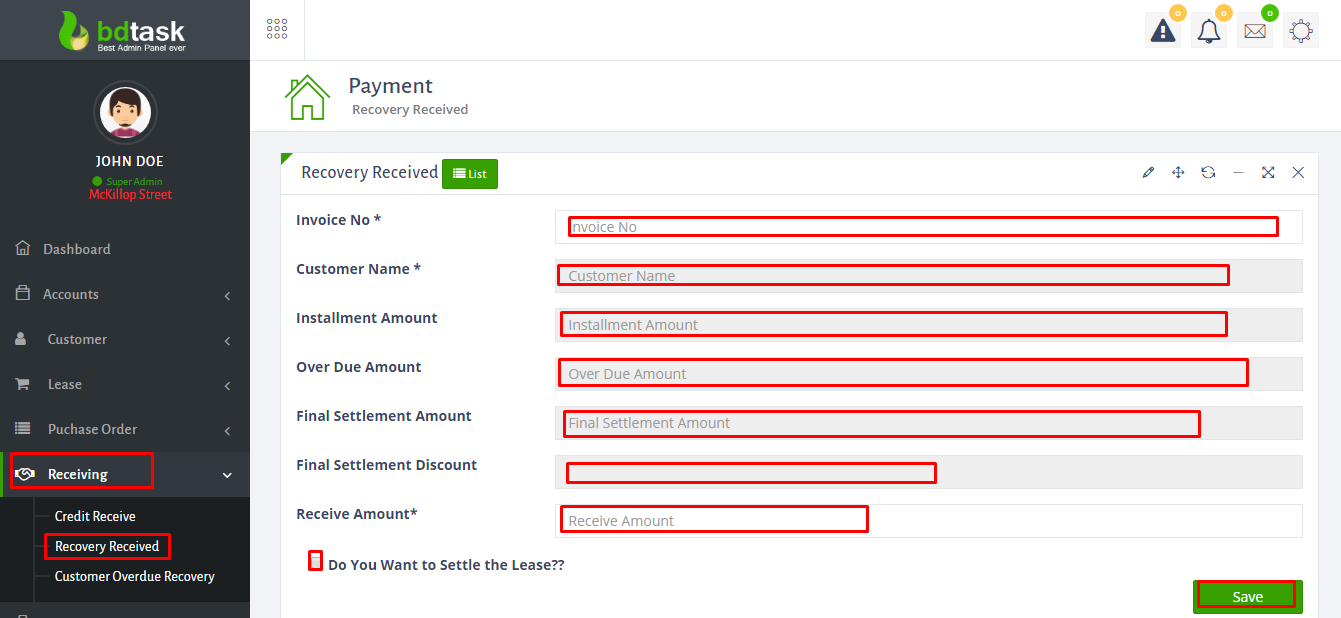
- For recovery received go to receiving>recovery received>fill up the form>click on save button.
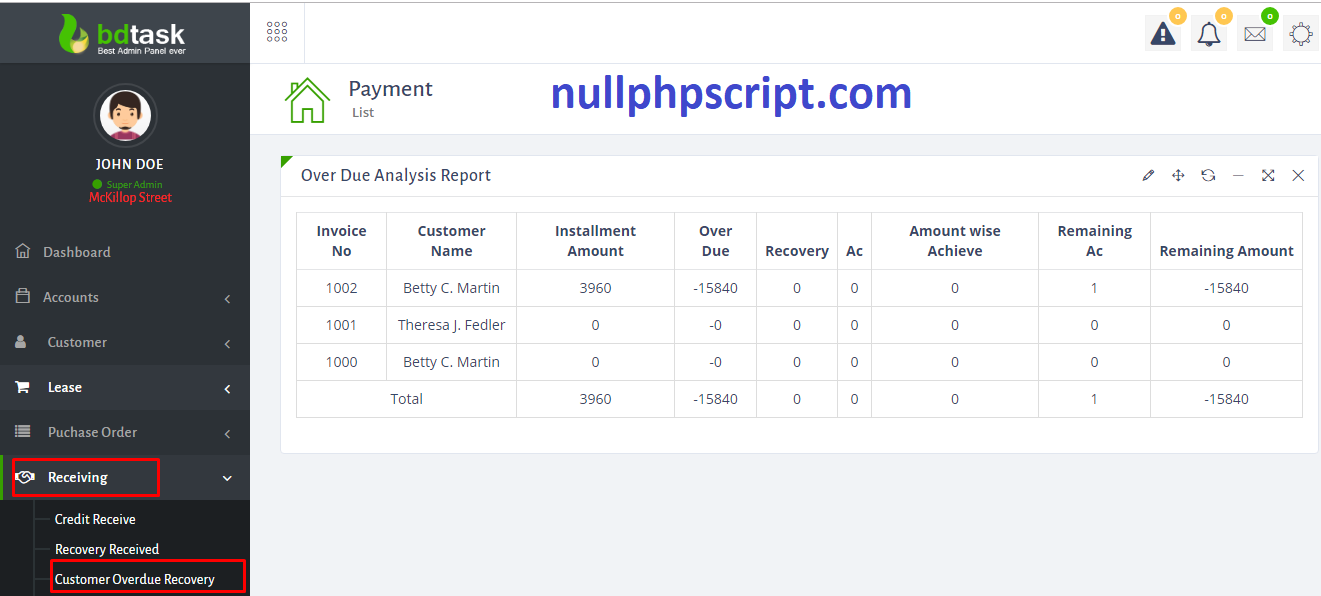
- Here is the customer overdue recovery list.
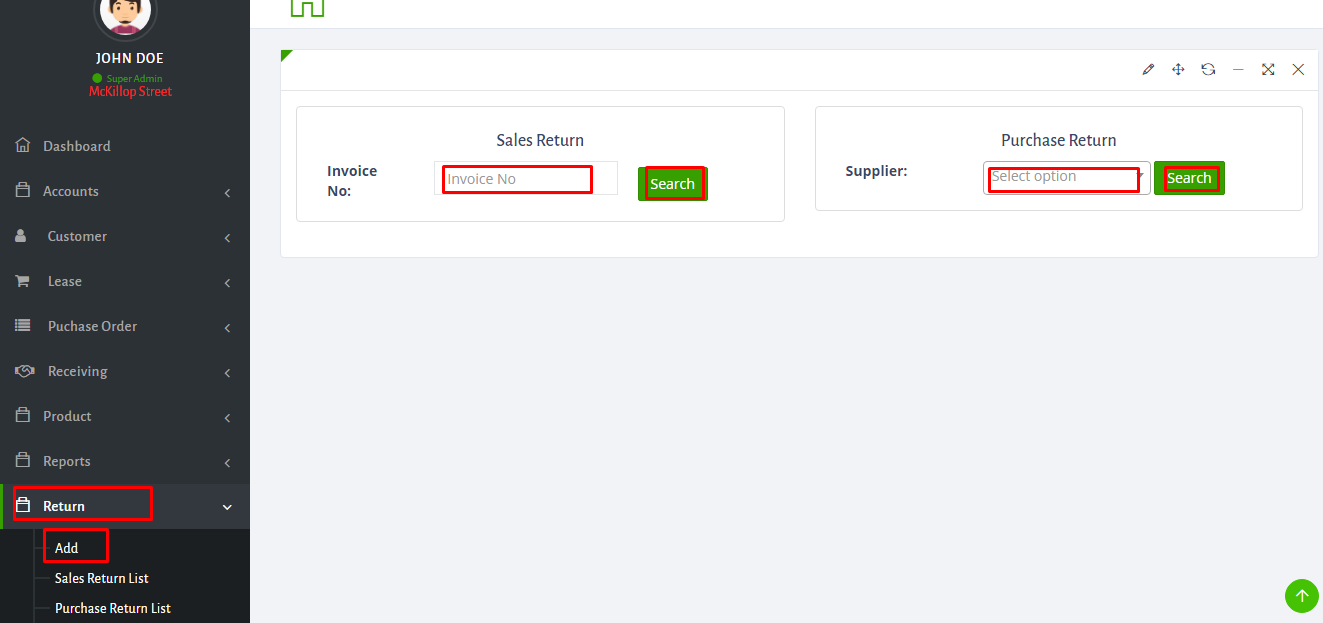
- Here you can add return.
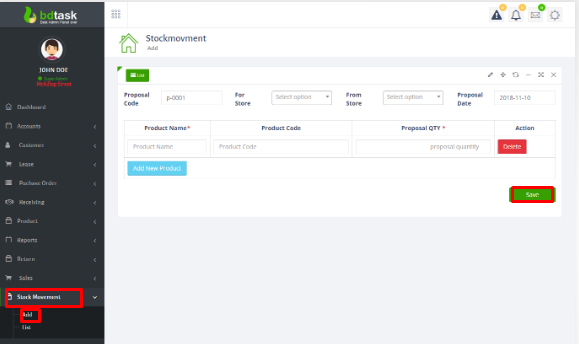
- Here you can move product from one store to another.
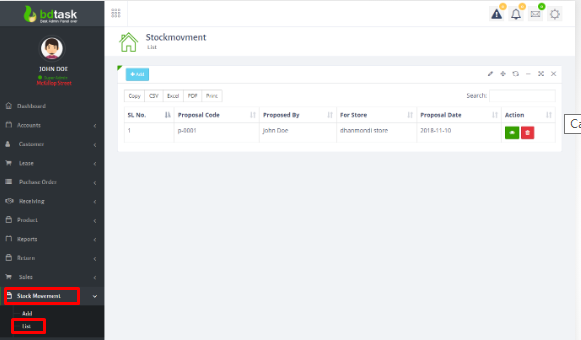
- Here is the stock movement list.Here you can see the view ,also you can delete.
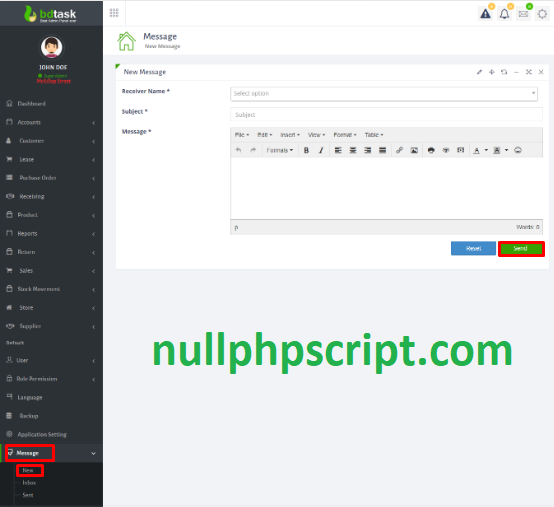
- From here you can send message.
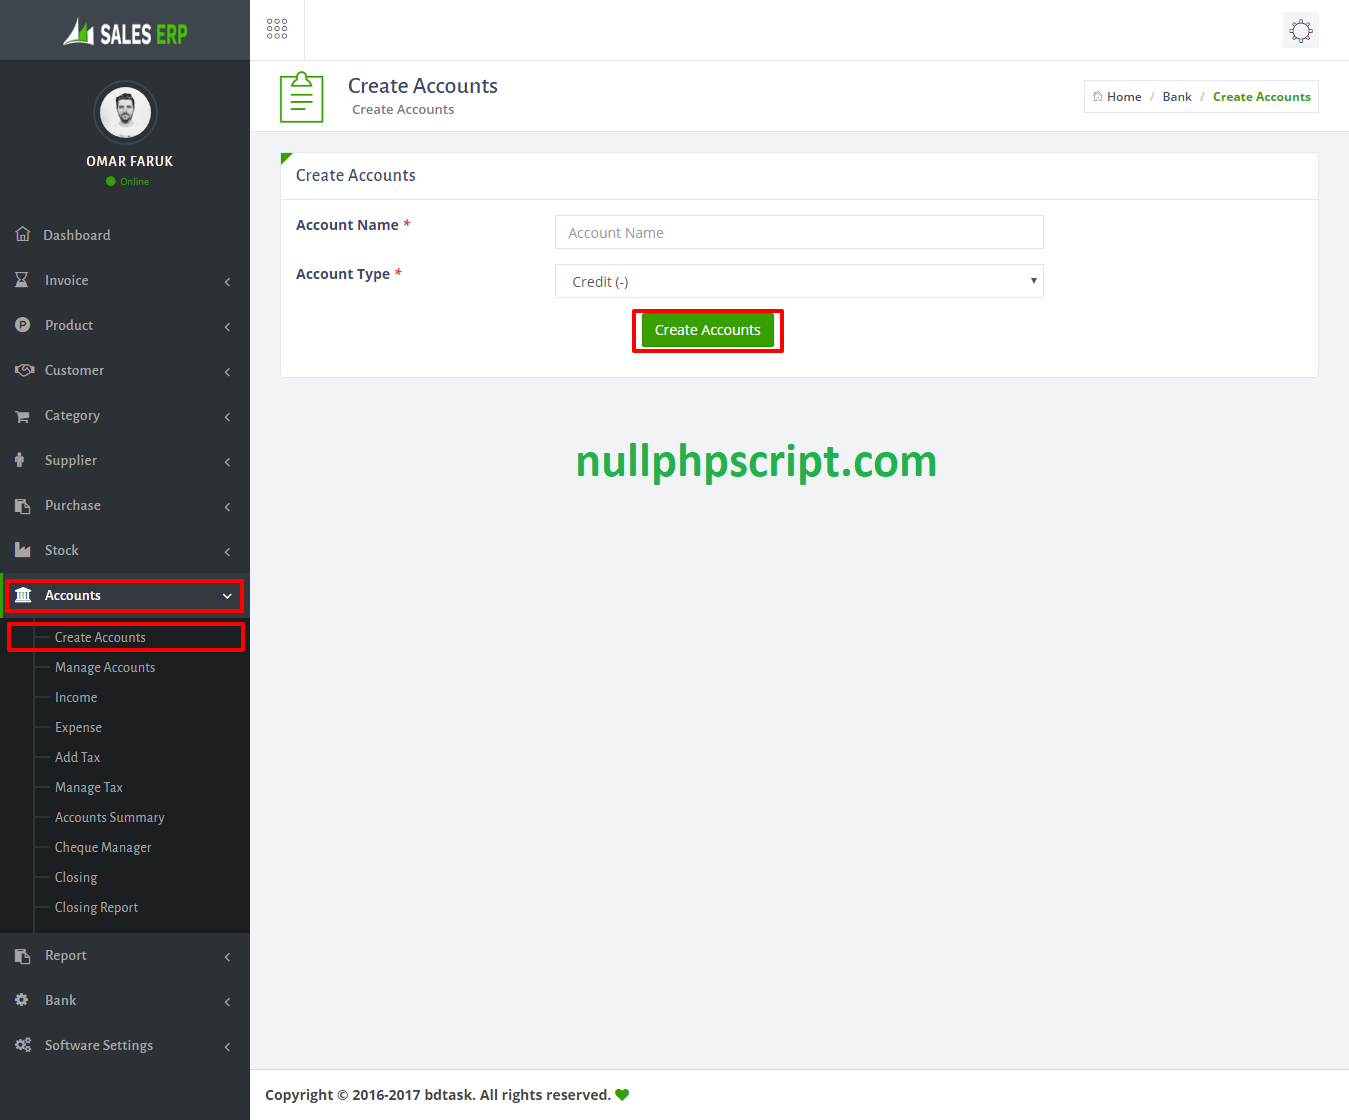
- To create new account just go to Accounts > Create New Account and fill up information select account type then click save button.
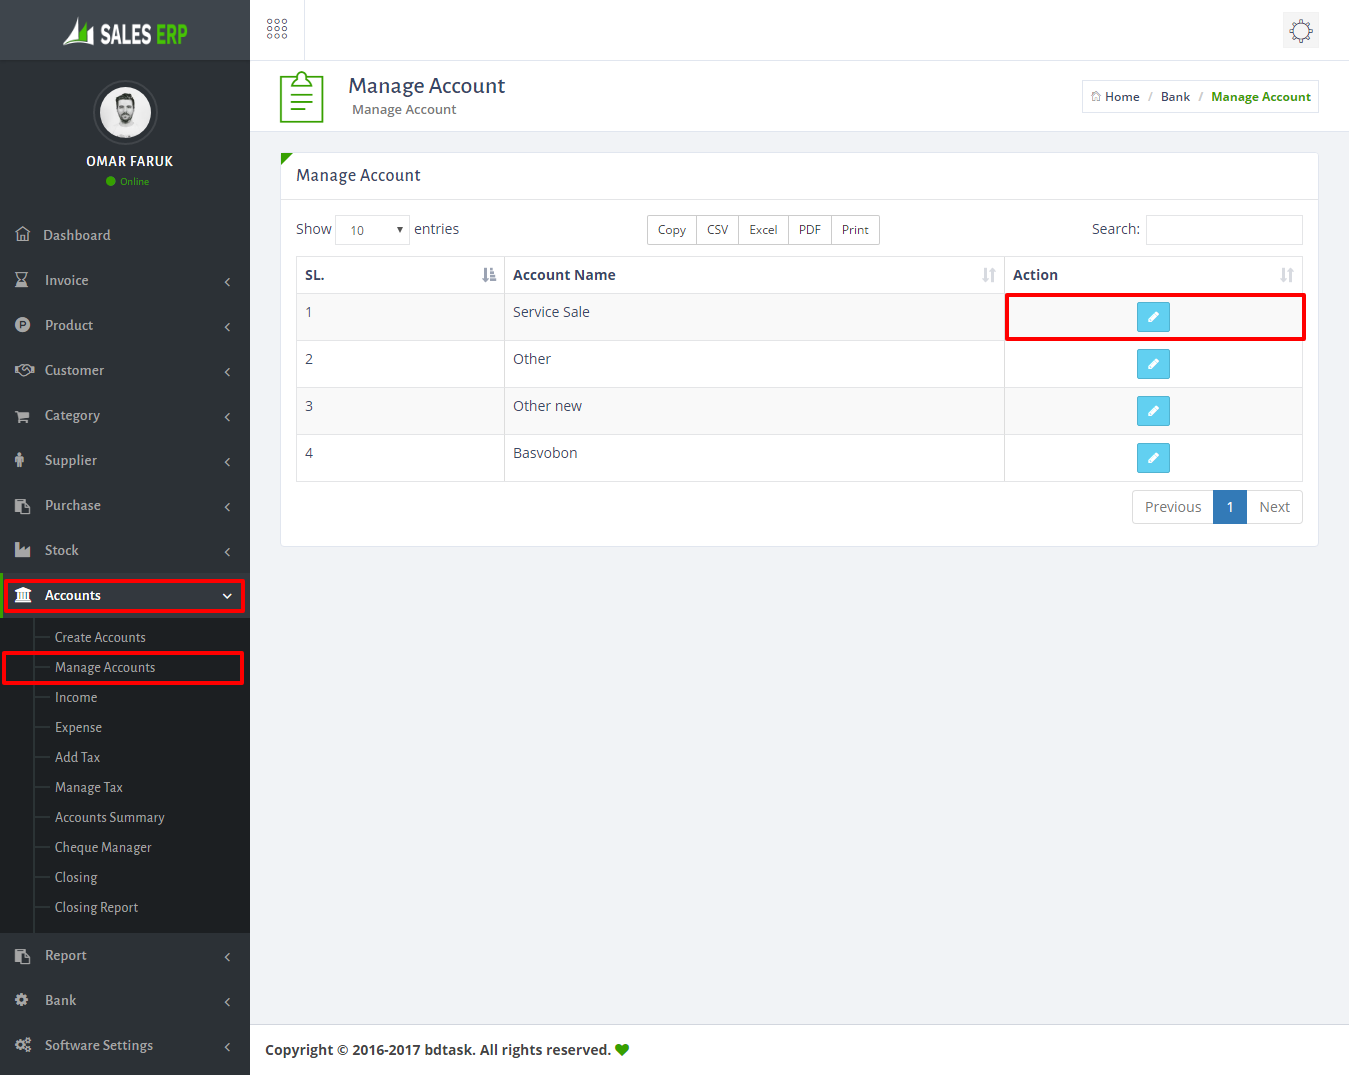
- To manage account just go to Accounts > Manage Accounts.
- To Income just go to Accounts > Income and fill up information then click save button.
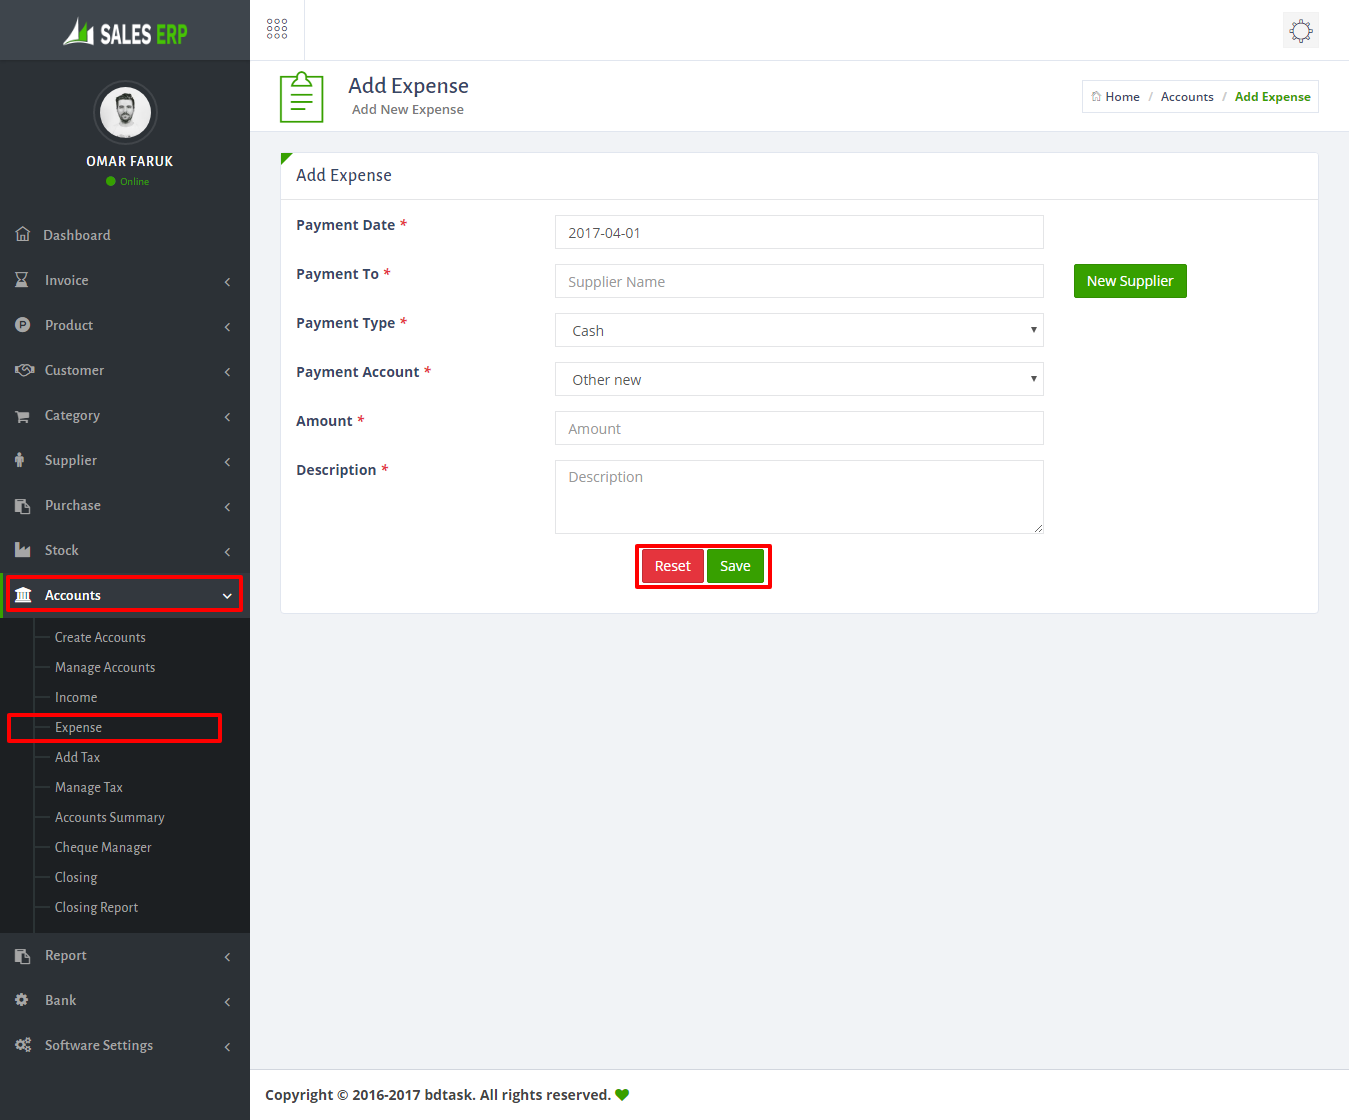
- To Add Expense just go to Accounts > Expense and fill up information then click save button.
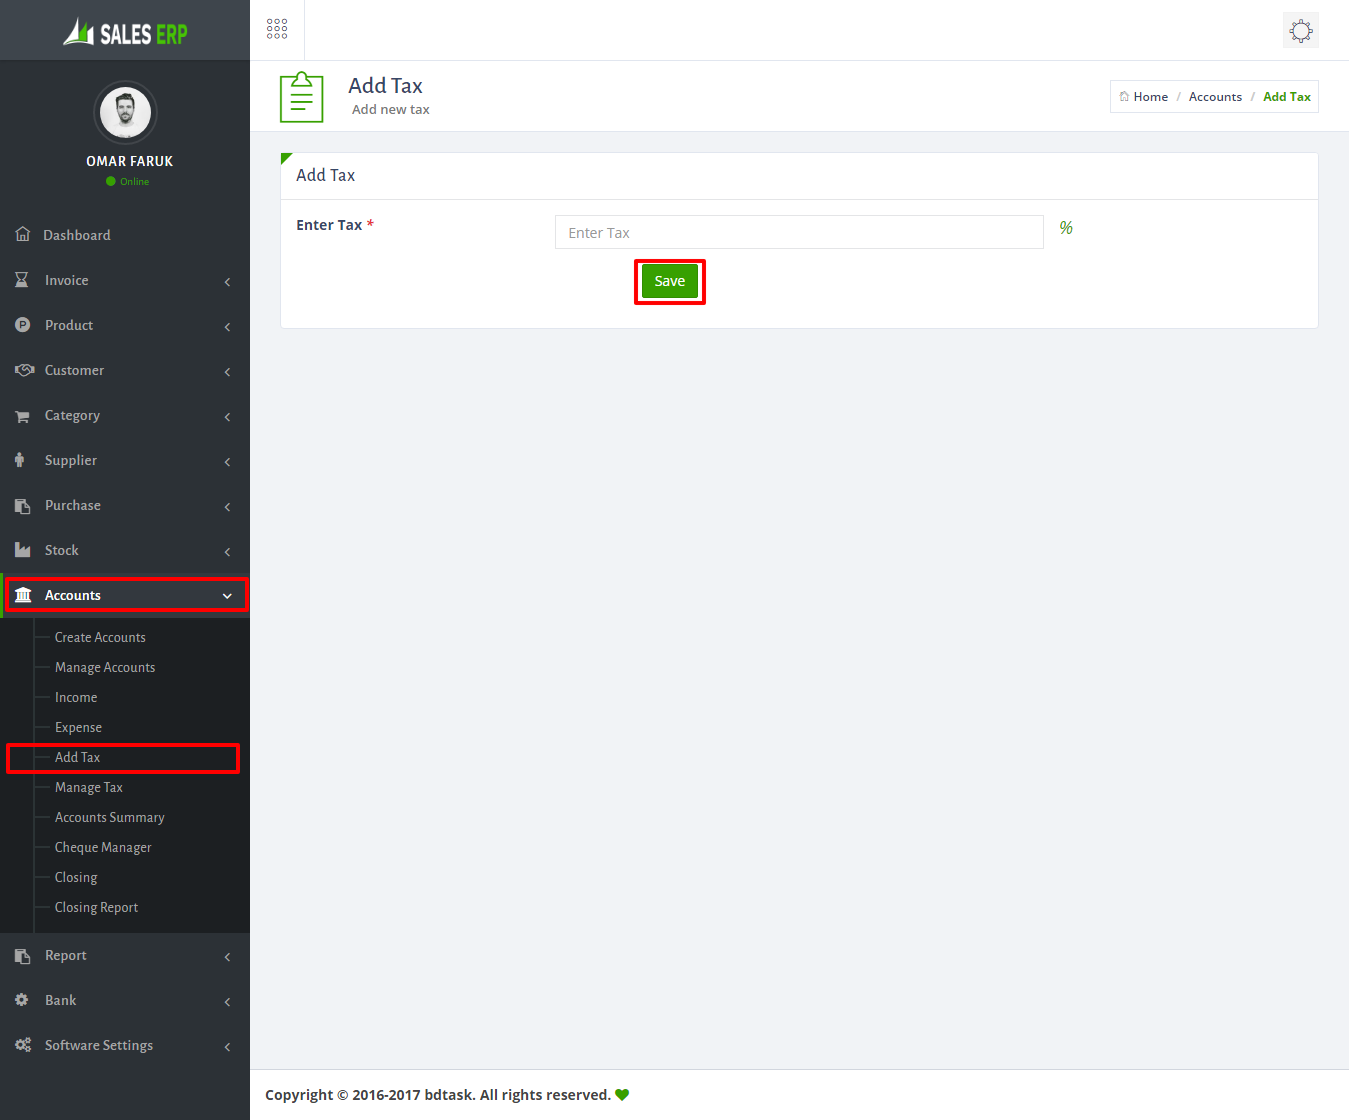
- To add tax just go to Accounts > Add Tax and fill up information then click save button.
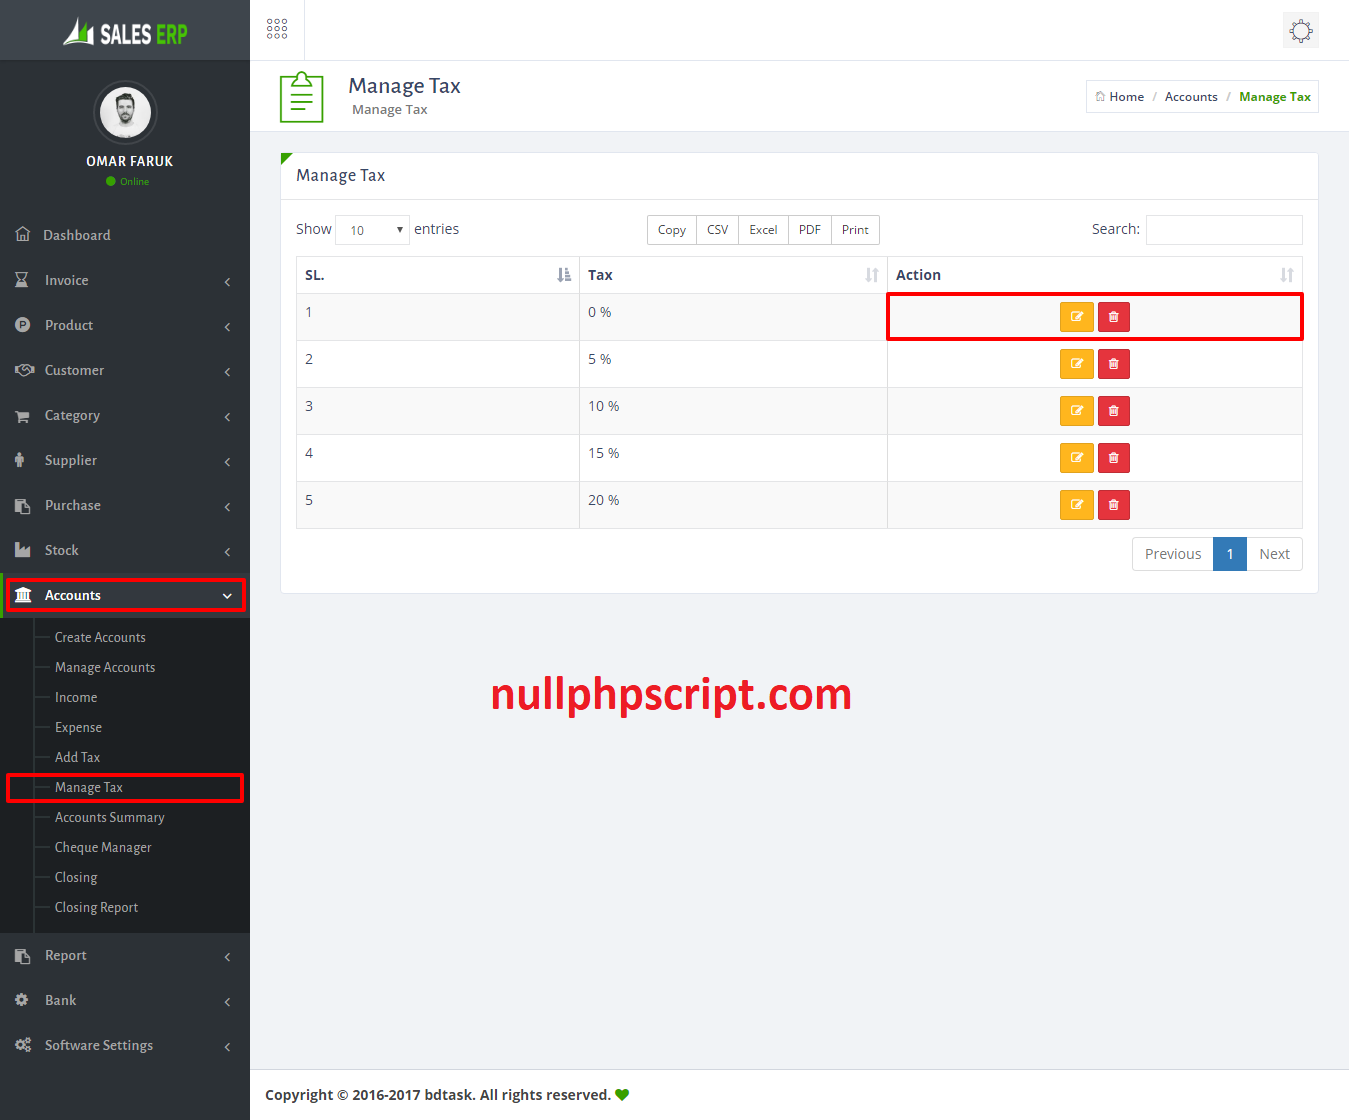
- To manage or edit tax just go to Accounts > Manage Tax.
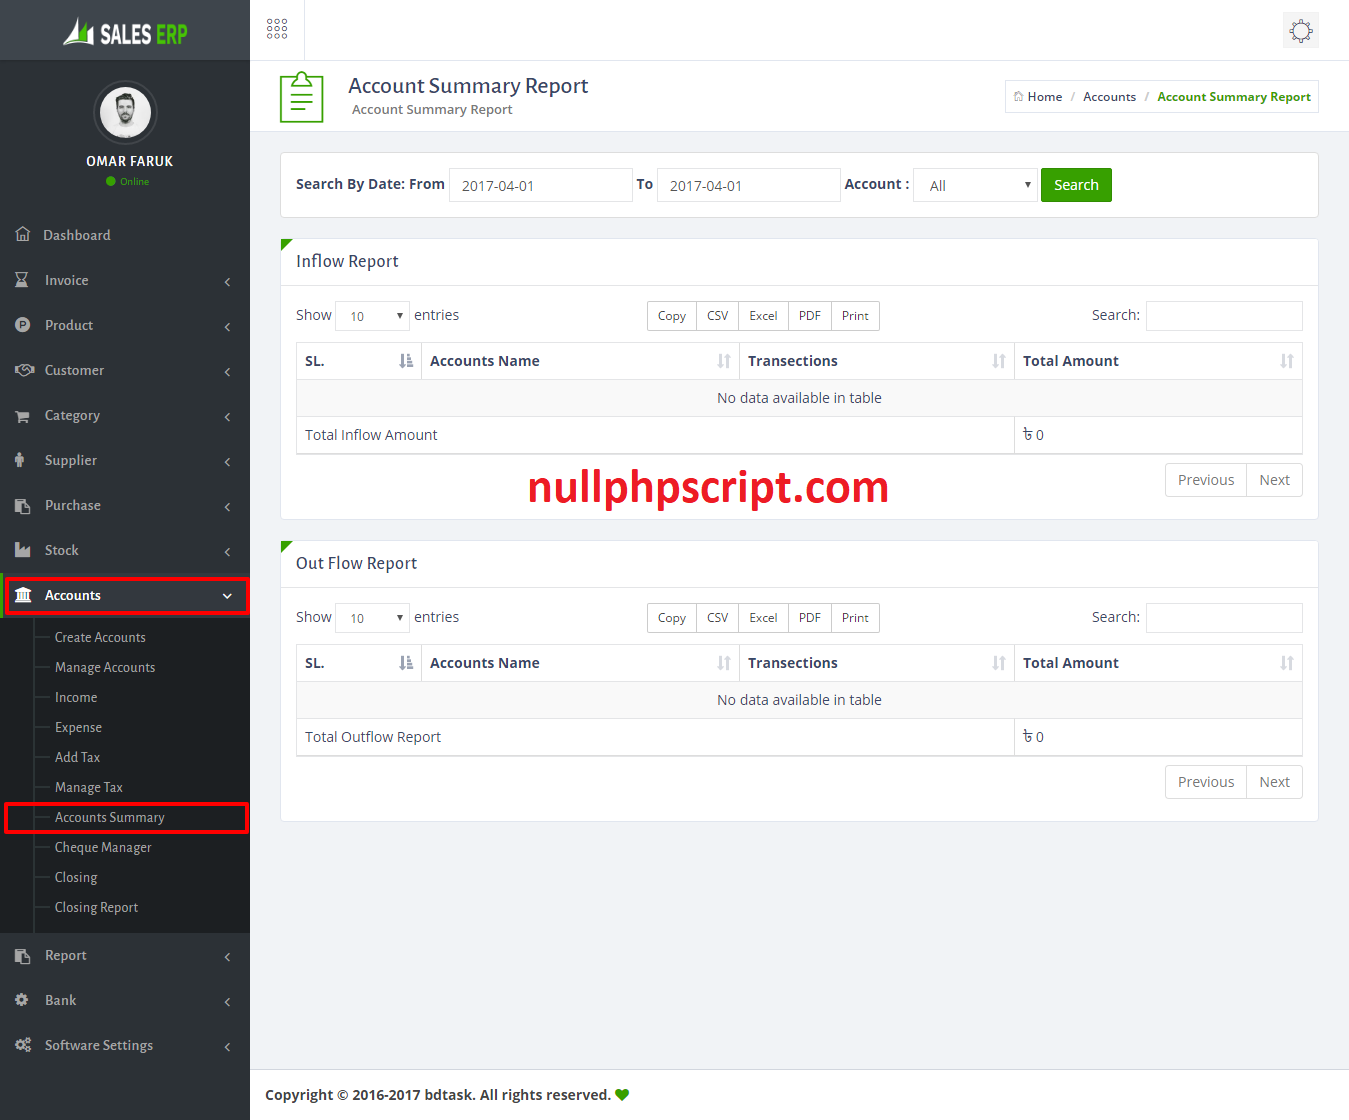
- To check Account Summary just go to Accounts > Accounts Summary
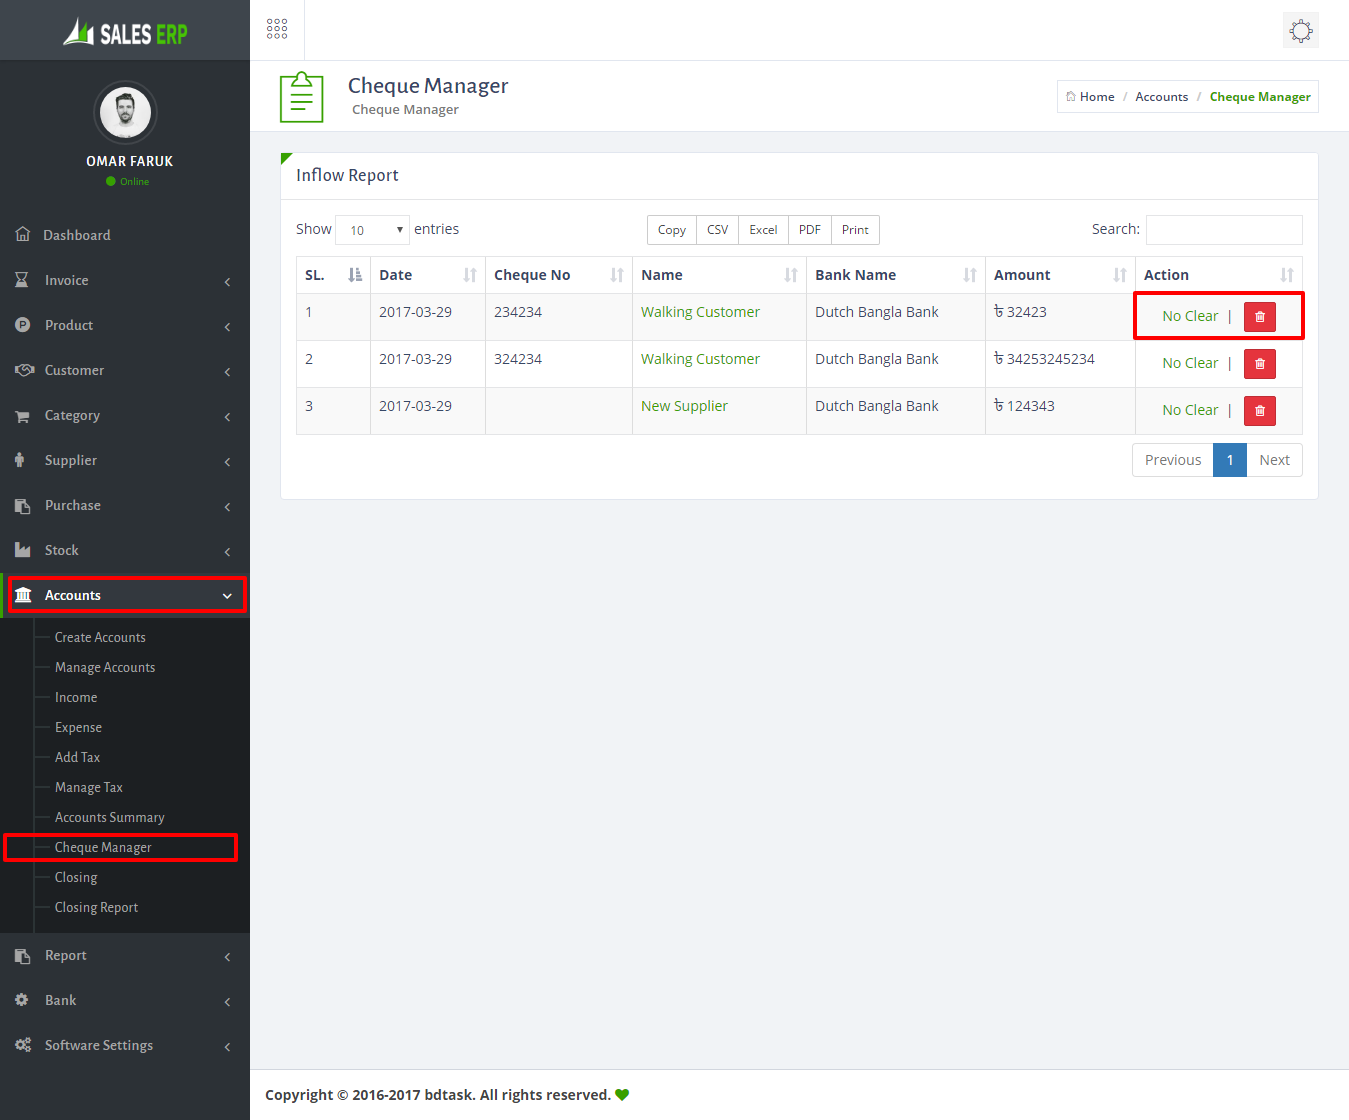
- To cheque status just go to Accounts > Cheque Manager.
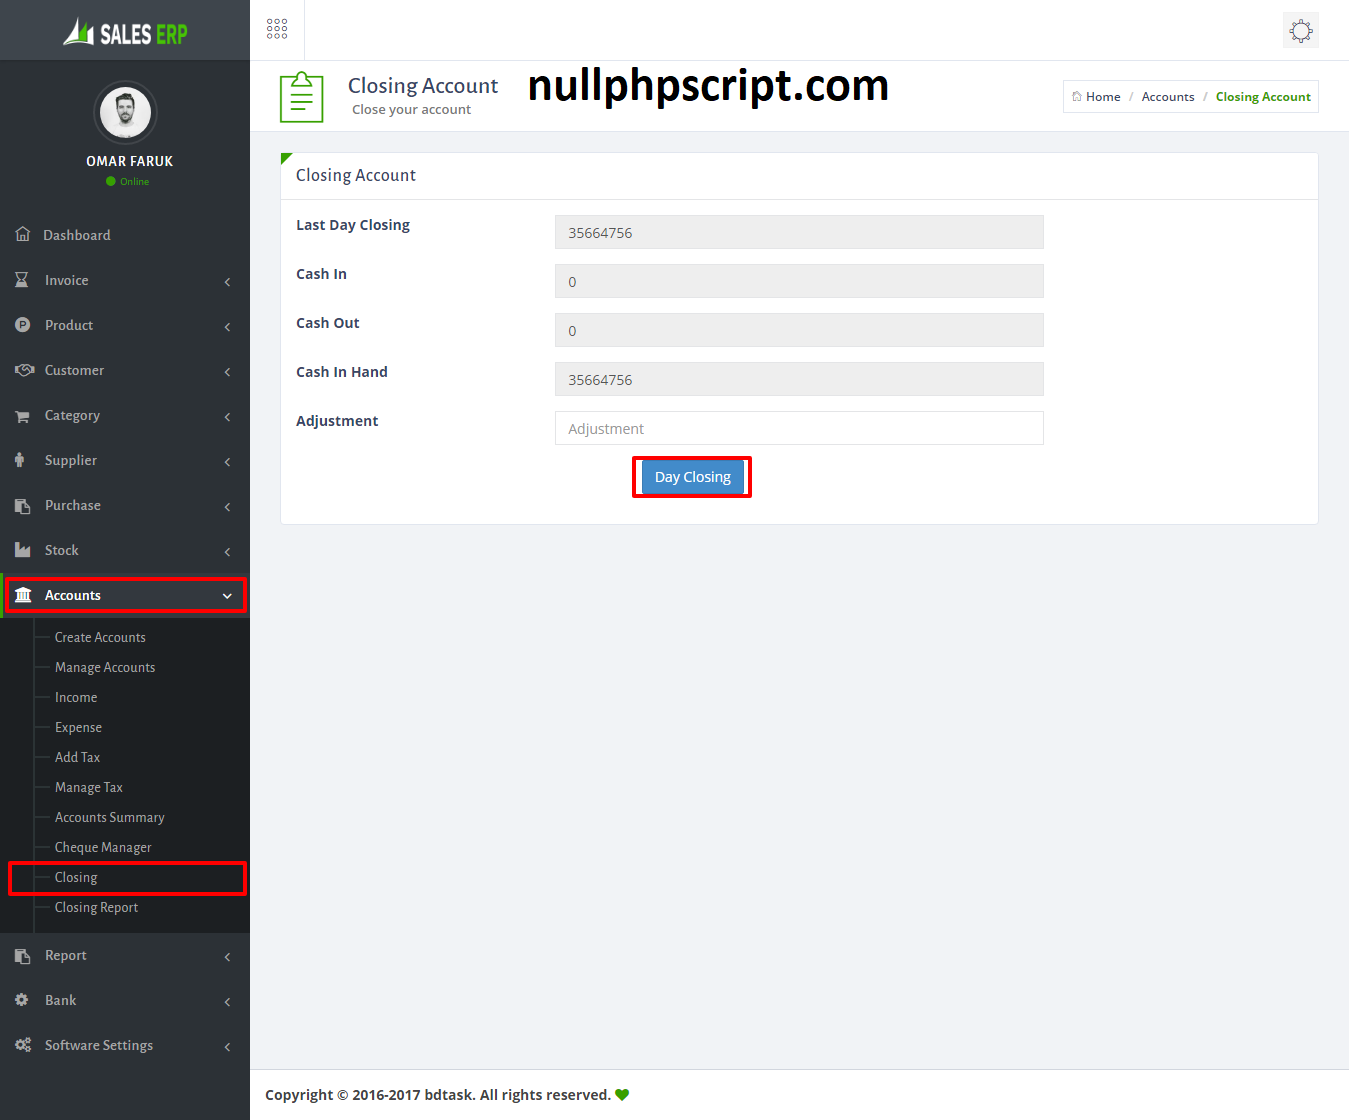
- To add closing just go to Accounts > Closing.
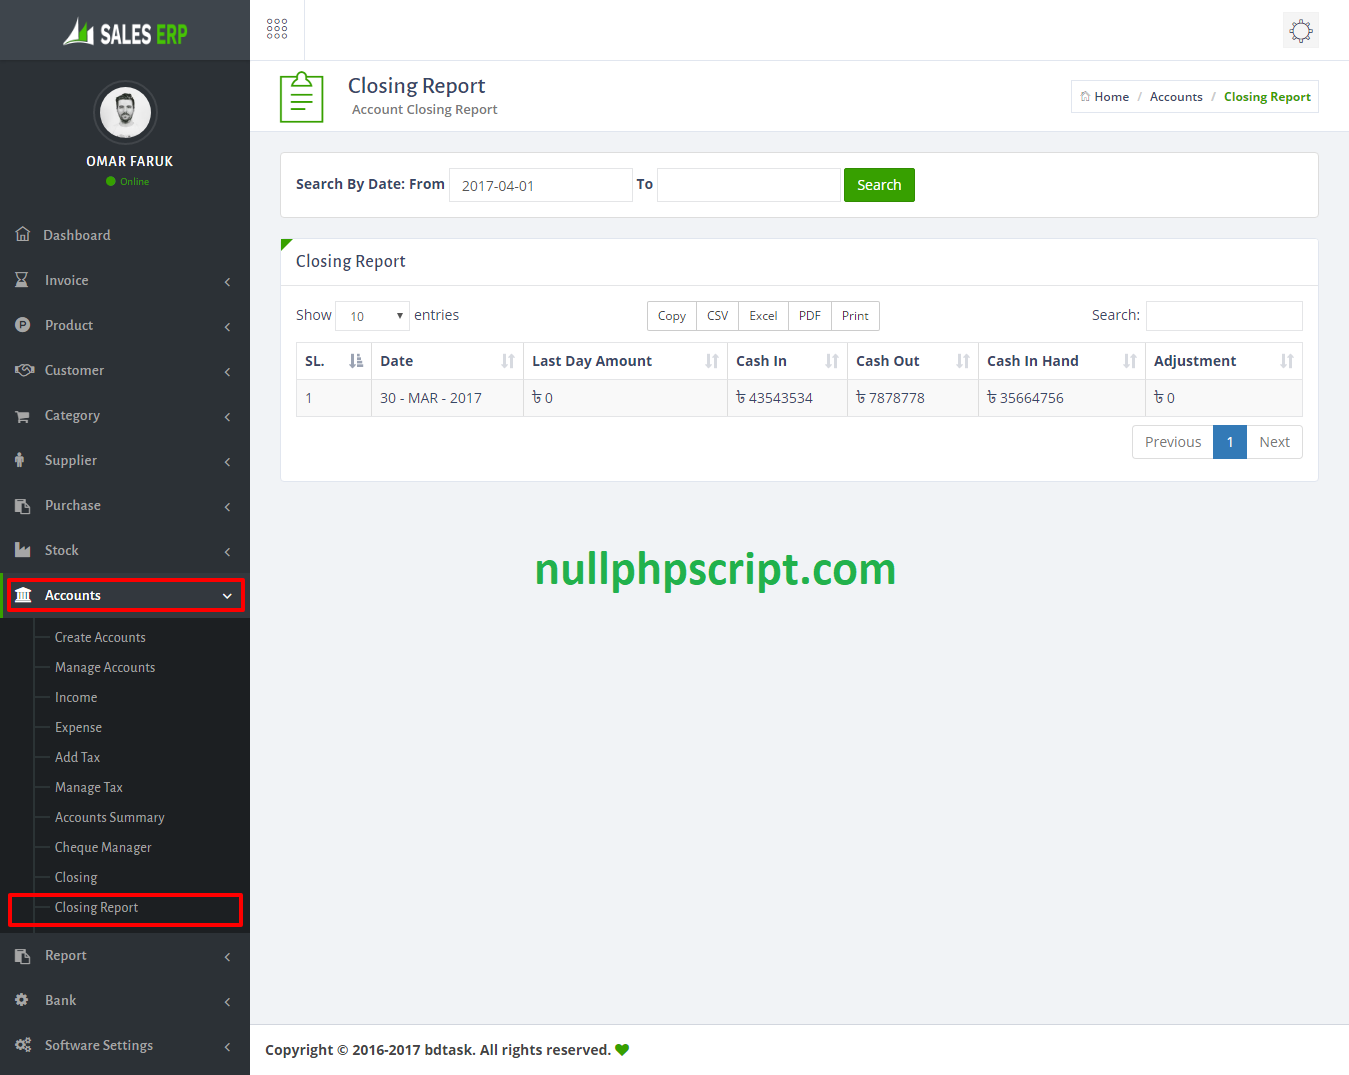
- To check closing report just go to Accounts > Closing Report.
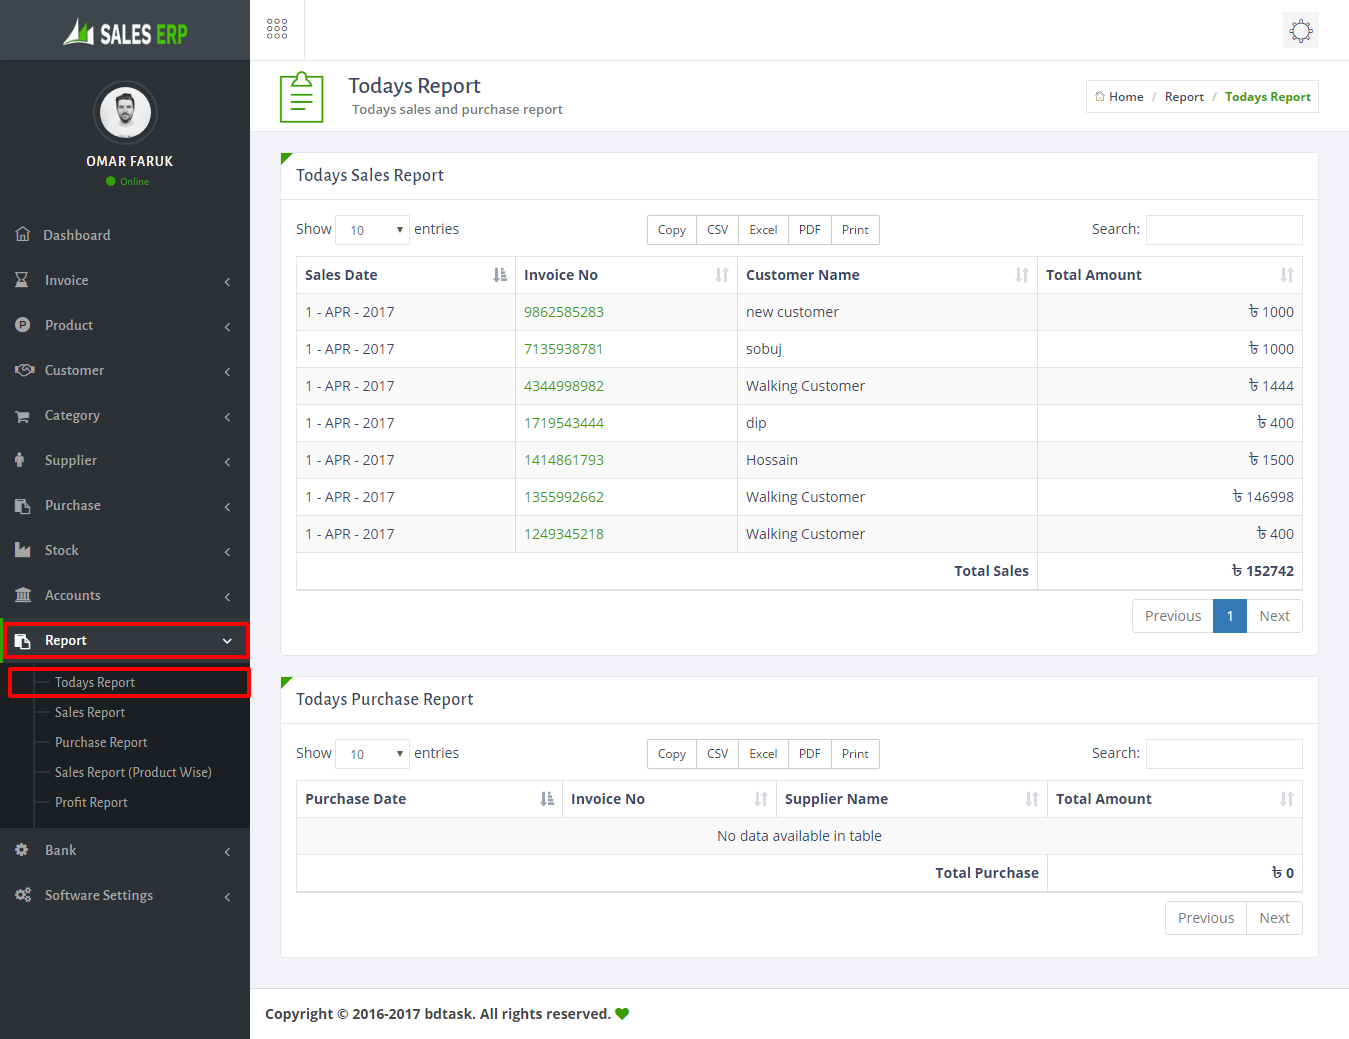
- To check today report just go to Report > Todays Report.
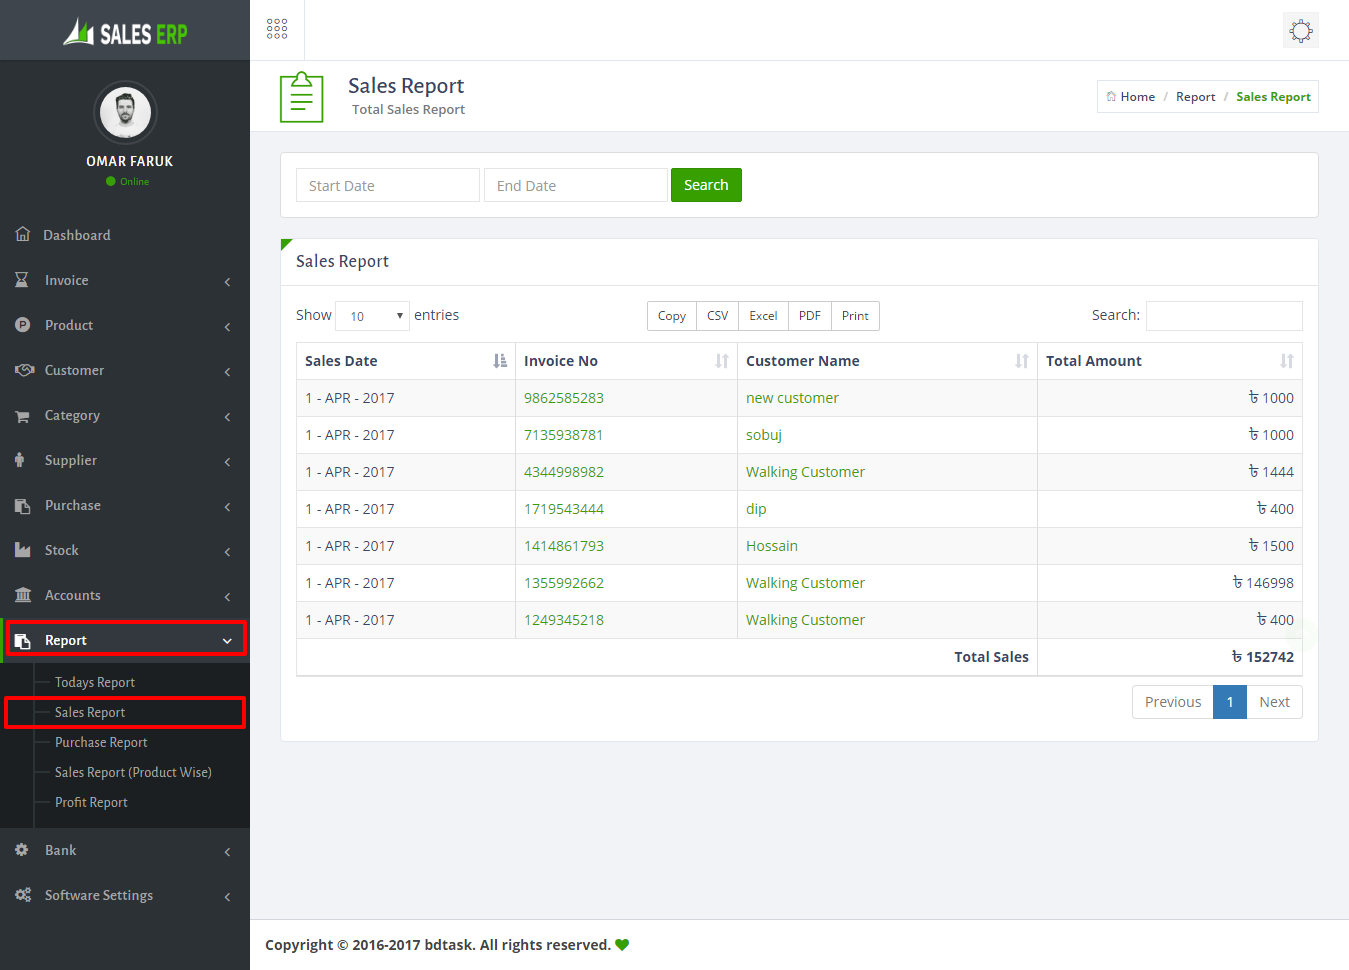
- To check sales report just go to Report > Sales Report
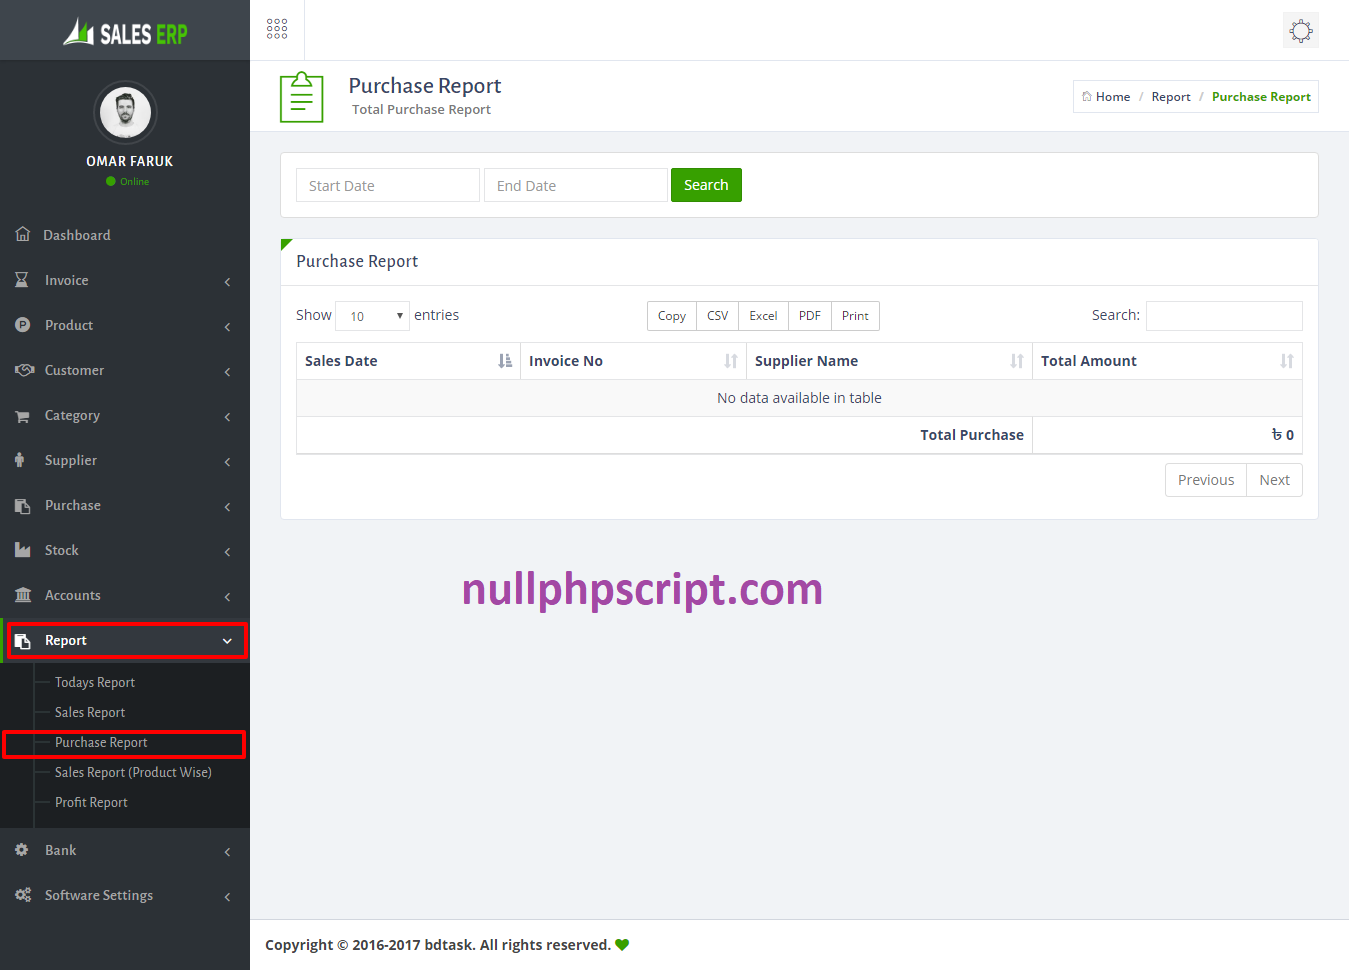
- To check purchase report just go to Report > Purchase Report .
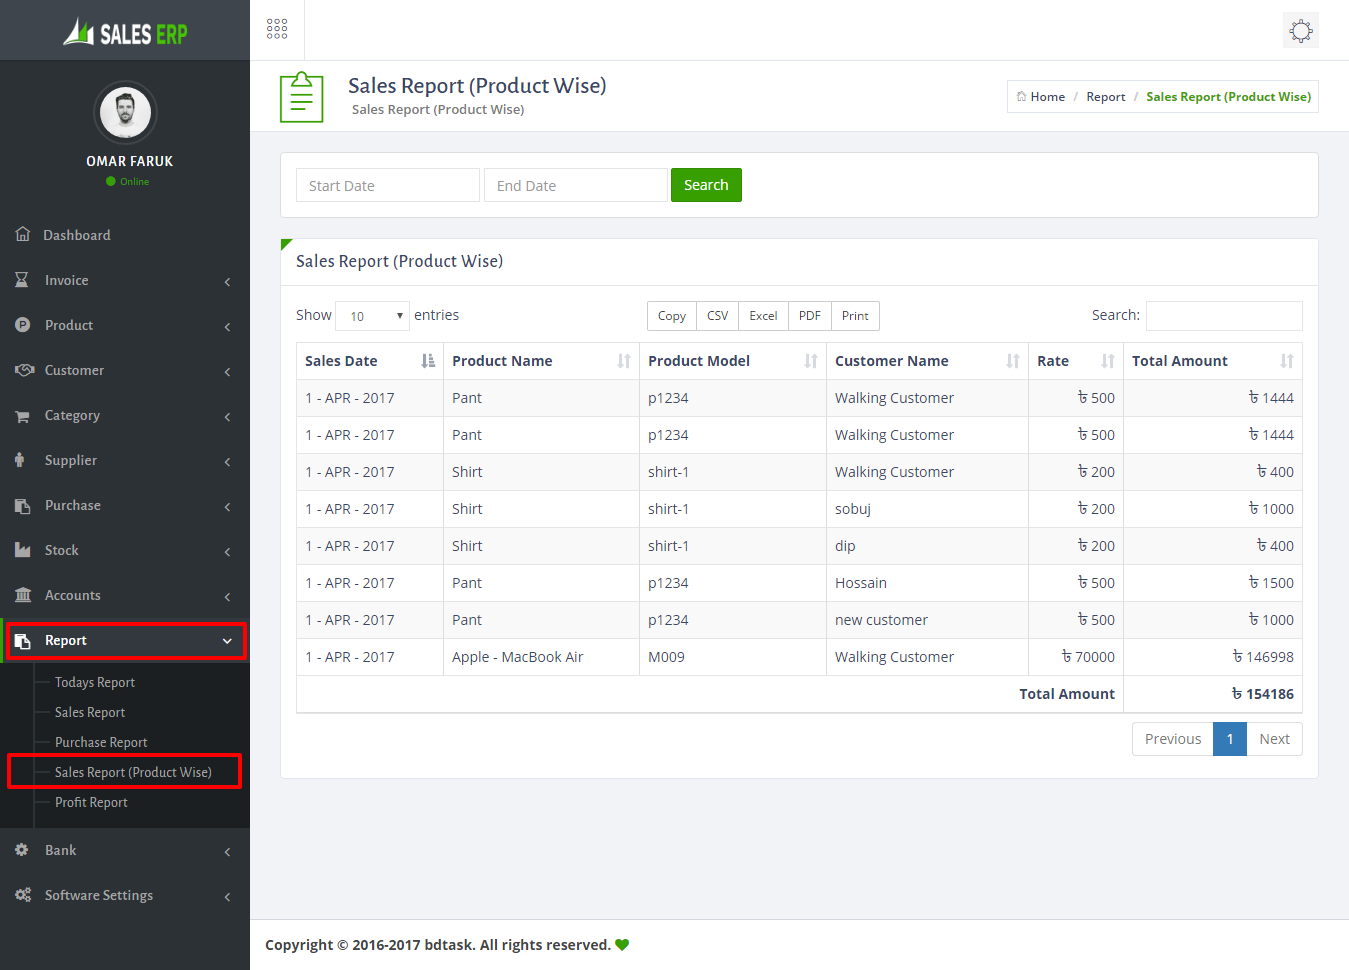
- To check sales report product wise just go to Report > Sales Report(Product Wise) .
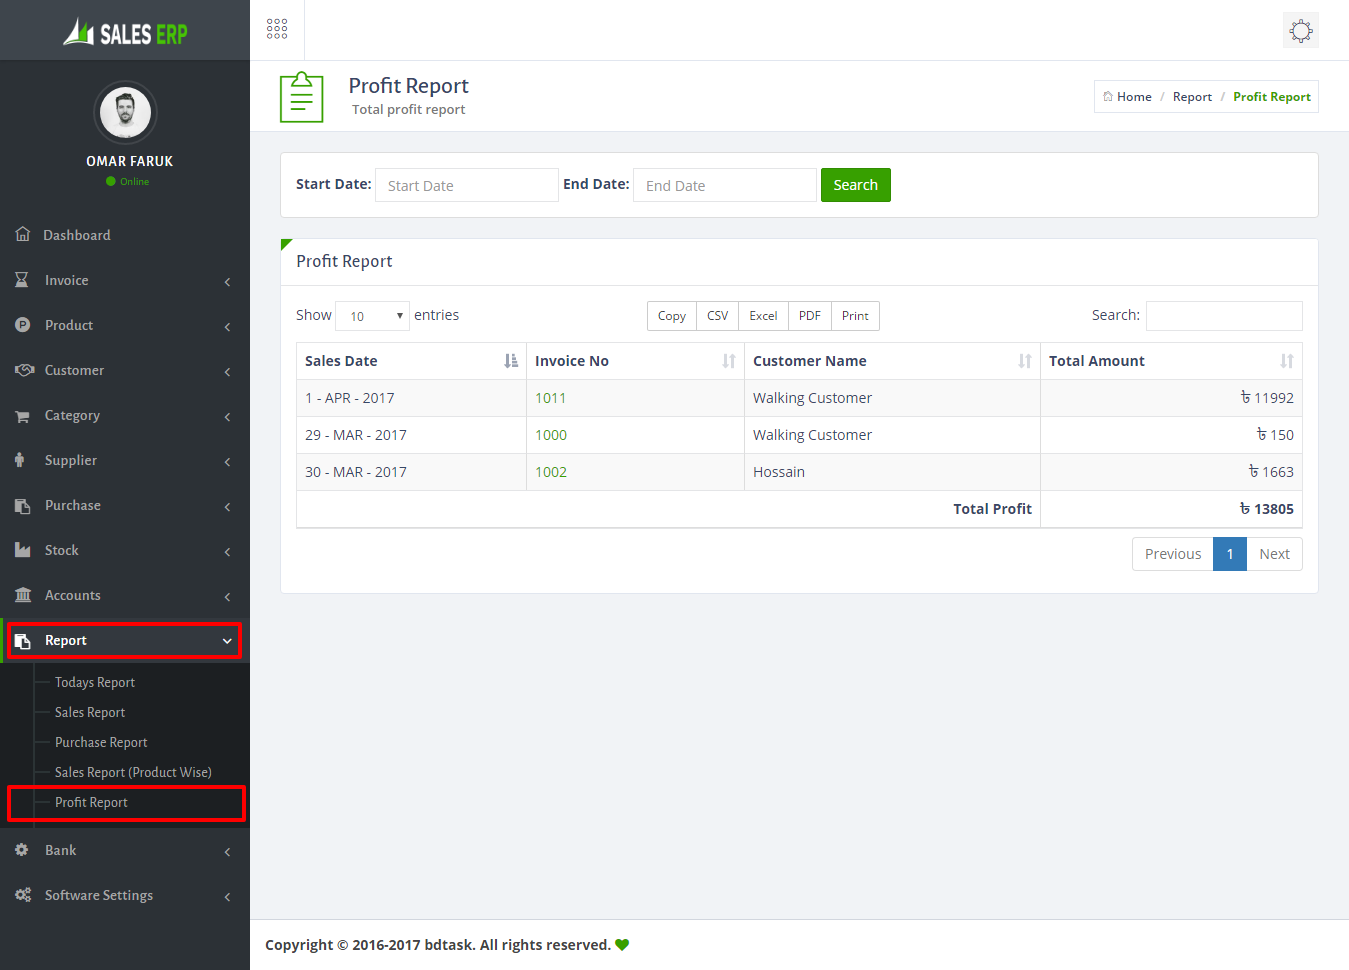
- To check profit report just go to Report > Profit Report.
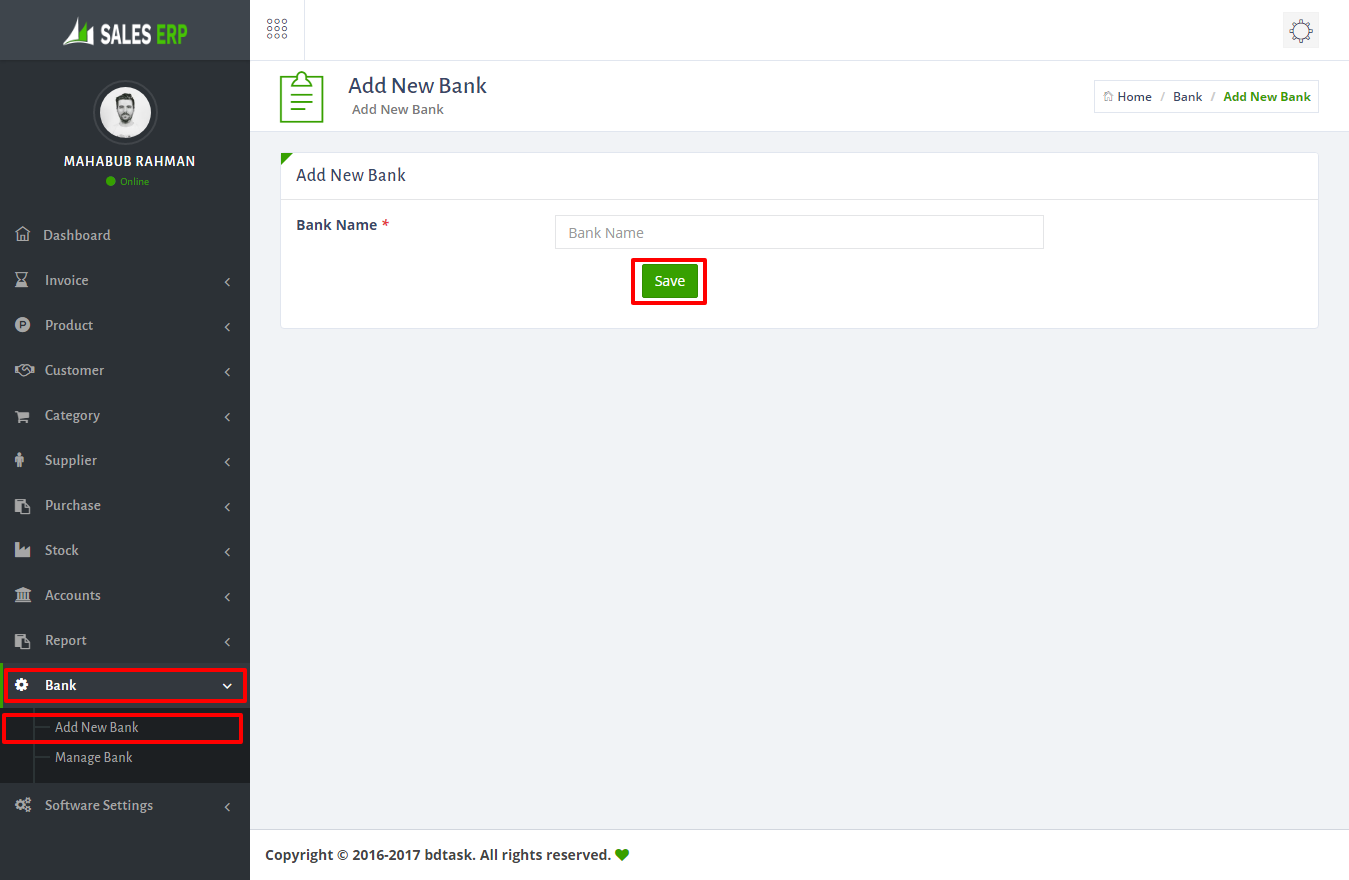
- To Add Bank of your system just go to Bank > Add New Bank and fill the bank name.
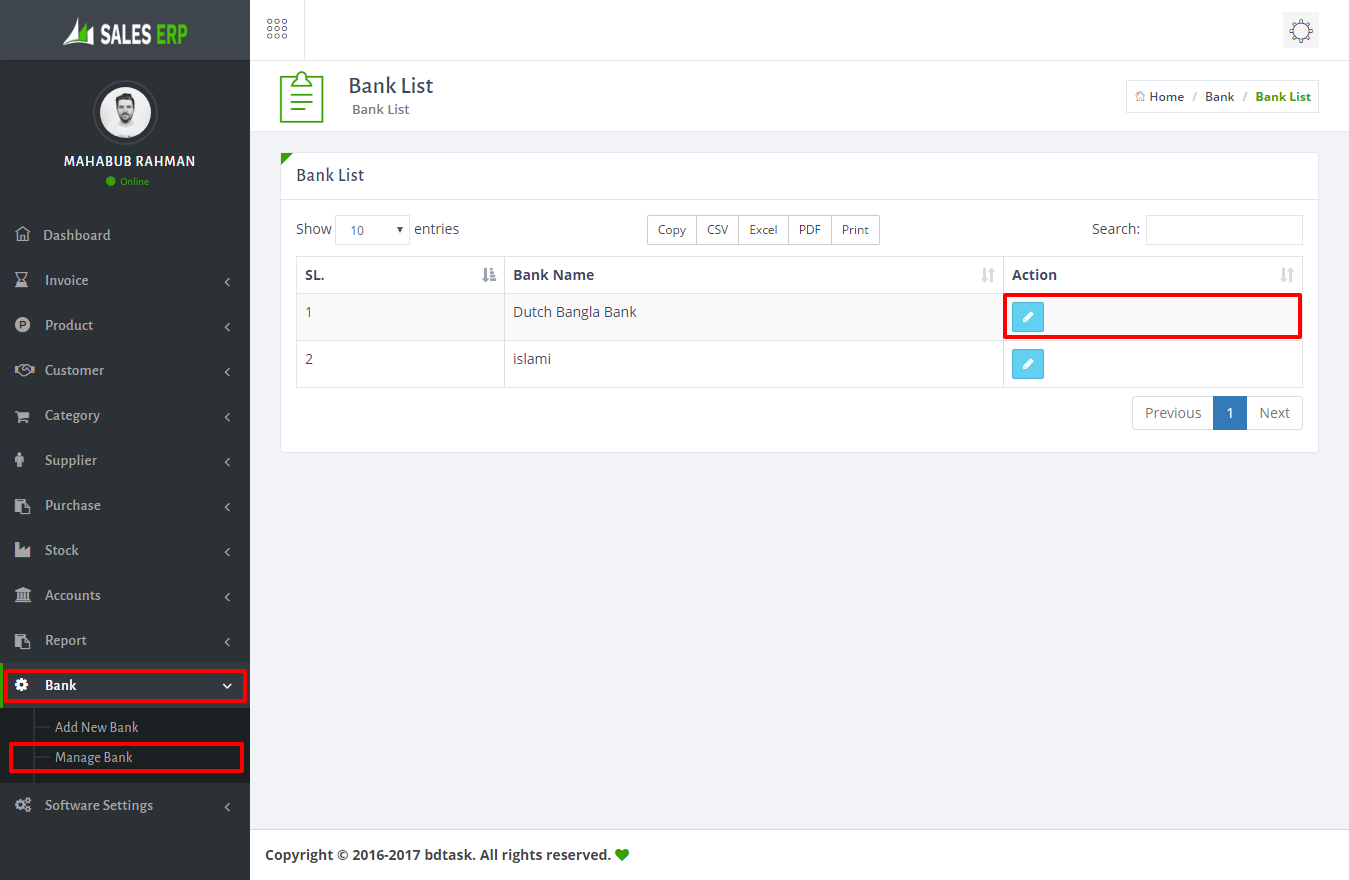
- If you want to edit bank name just go to Bank > Manage Bank.
- At first you should have xamp/wamp in your computer
- Download and install Xampp/Wamp software || XAMPP Compatible Version Download Link
- Please Check Your Localhost (xampp/wamp) before installing this Application.It is compatible with this version. > Mysql Version : 5.0.12 > PHP version: 7.0.5 > Apache : 2.4.18
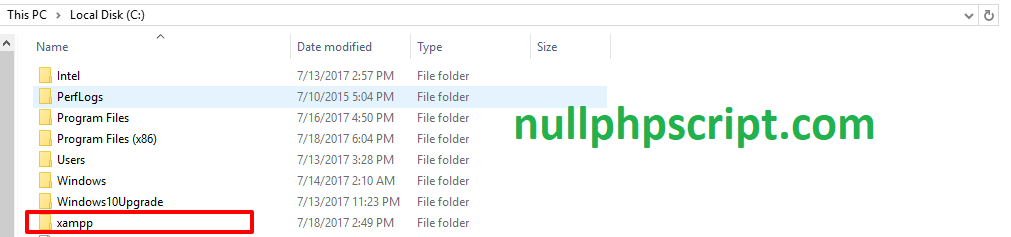
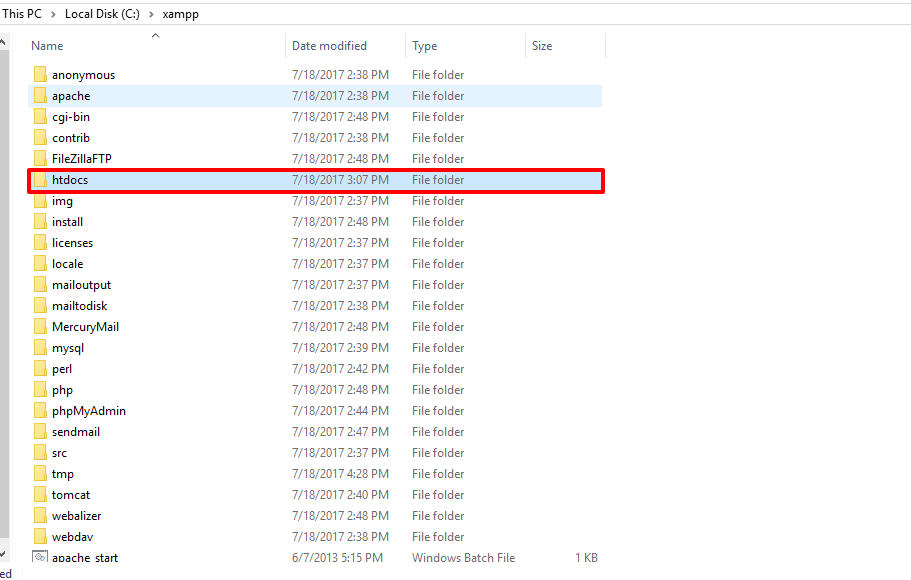
- Now open your Computer C Drive then go to Xampp/Wamp Folder
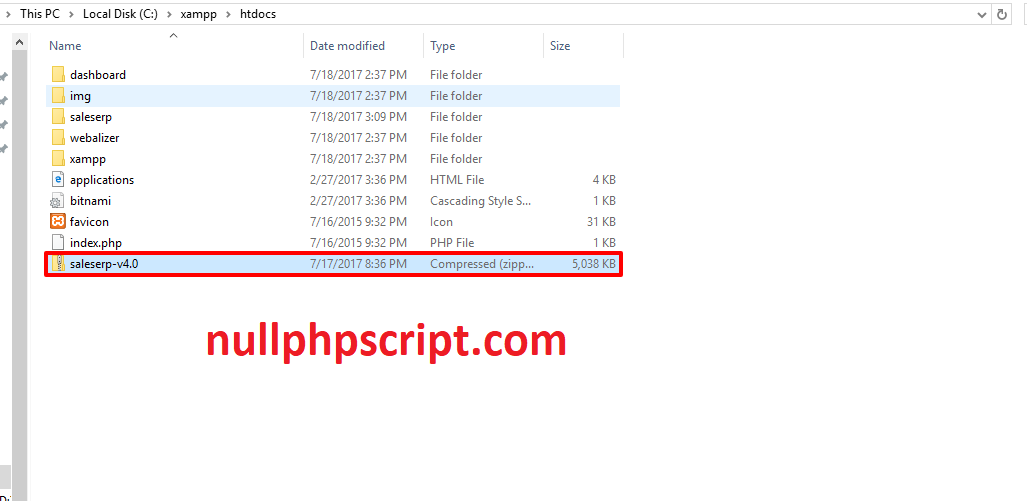
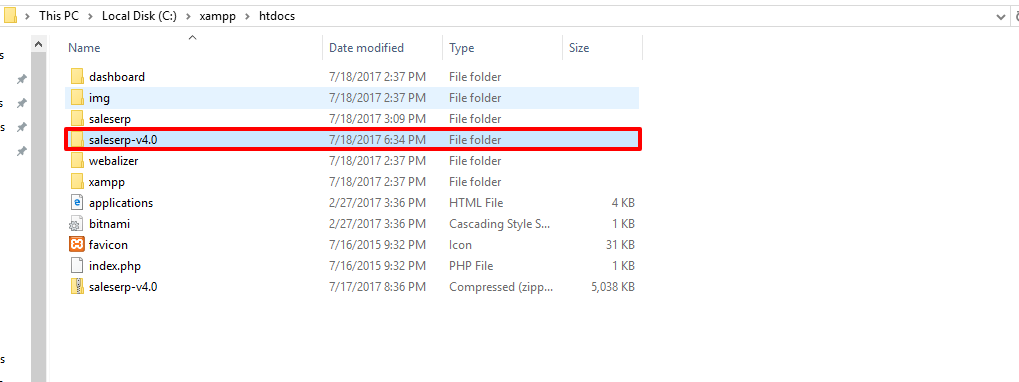
- Now open htdocs folder and put M-Store.zip file inside htdocs folder and extract zip folder.
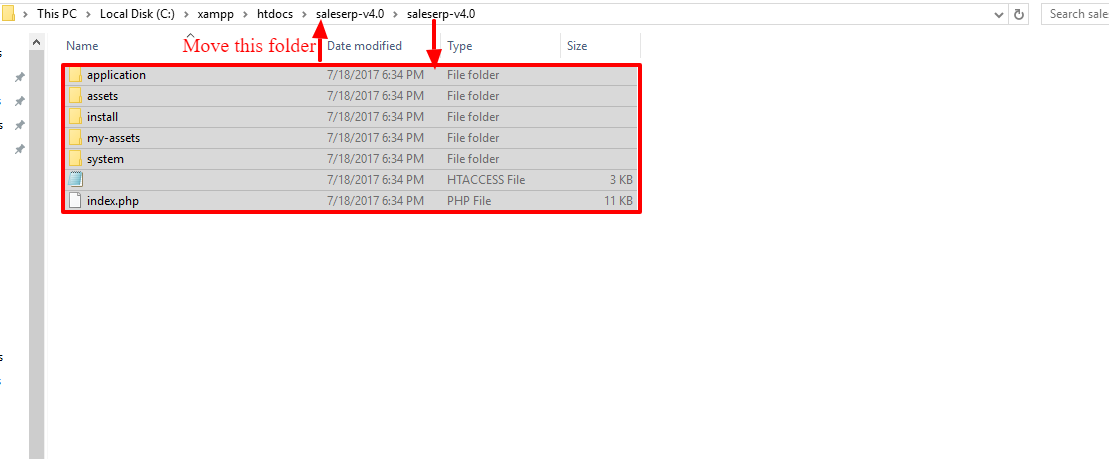
- After unziping M-Store folder then open unziping folder and select all file and move to M-Store folder.
- Now go to your browser and write localhost/folder name(eg: M-Store)/install then you will see below picture.and click on next button.
- Now fill up information put database name > username (eg: root) and make blank password field then click next button and it will take 10 second to install.. then click "Click to launch your application" button and it will redirect to login page.
Account setting is the important part of this software. If you ant to add new settings just go to Accounts settings > Here have income and expense,Tax, account summmery, Cheque manager, closing and closing report.

How to Install at Localhost?
Please look at the below instruction for installing M-Store offline mode..
Bdtask Overview
Bdtask is a Well known company. It is a Software development and envato based Company. It has 40 Plus Dedicated employees working for Customer satisfaction.Please visit our company website: Bdtask
What Files are included with M-Store
HTML
CSS
JS
PHP
Codeigniter Framework
MYSQL
Full Documentation
Installer
Licensing
M-Store.Zip
Update log text
Requirements for M-Store
In this section we will present the recommended configuration under which the theme would work perfectly. Those are not absolute values, the theme performance depends on many factors like the host performance, server configuration and the number of visitors.
Server requirements
Apache or IIS or Nginx
PHP version 5.3 or greater (recommended: PHP 5.4 or greater)
MySQL version 5.0 or greater (recommended: MySQL 5.5 or greater)
Hosting requirements
Hosting actually depend on your Users. You have to calculate how much visitor you are getting every day. If you have more than 10,000 visitor everyday then we will recomend you to Buy a VPS from any reputed hosting company. We Will prefer Bluehost company.Because they are providing very quick service.
M-Store Support
If you Need to know anything about M-Store please do not hesitate to ask our support team.
Support E-mail : info@bdtask.com
Once again, thank you so much for purchasing this system. As I said at the beginning, I'd be glad to help you if you have any questions relating to this theme. No guarantees, but I'll do my best to assist. If you have a more general question relating to the themes on ThemeForest, you might consider visiting the forums and asking your question in the "Item Discussion" section.